Category Archives: quilt tips

Many (ok, most) people notice my thread wall(s) when they enter my studio for the first time. Lots of people ask to take pictures (of course, be my guest!), and I get lots of comments about my nearly-famous thread wall.

Someone even once suggested that maybe I didn’t use all of the colors that I have. Um, actually, I do.

The other running joke in my studio is that while I don’t have 50 shades of gray, I do have 25 shades of nearly white.

So how do I choose which thread color to use? My goal is to find a color that works with all of the fabrics, and often times, it’s easy. Even If the quilt top itself is predominantly one color I’ll select a few cones of thread and pool a bit of each thread color on the quilt top to get a better idea of how each thread will look in quantity. I’ve discovered that what a spool of thread looks like is different than what a pool of thread looks like (what a difference one letter makes).

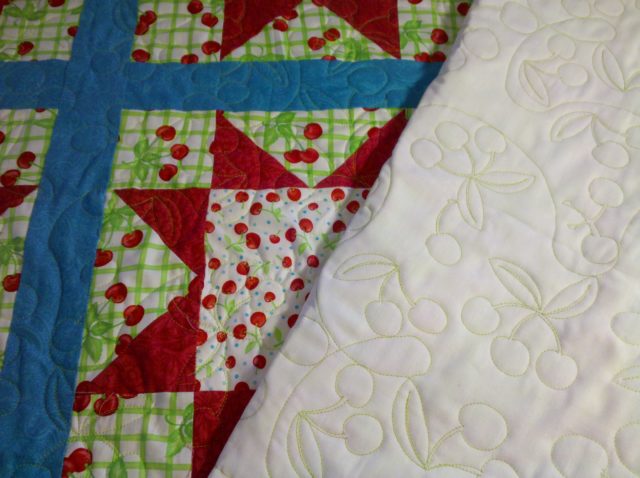
My general thread philosophy is that I don’t want the quilting to compete with the quilt top, but rather complement the quilt top. So I typically select a thread color that blends rather than contrasts with the colors in the quilt. If there’s a lot of light colors, then I’ll lean toward “natural” or a light version of the quilt’s dominant color–for instance, pale pink, lemonade, or celery.

What (you may ask with a twinkle in your eye) color would you choose if there are a lot of bright, different colors? Great question (I say, twinkling back)!

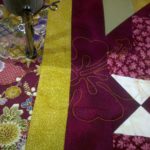
As an example, there are many beautiful Asian-inspired fabrics that have lots of different colors, some light and some dark. But they almost all have a bit of gold in them, and I’ve found that using a gold-ish color works perfectly.
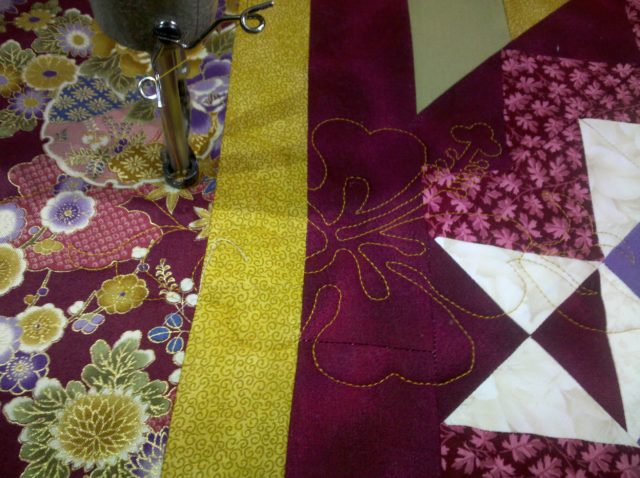
gold chrysanthemums
gold chrysanthemums

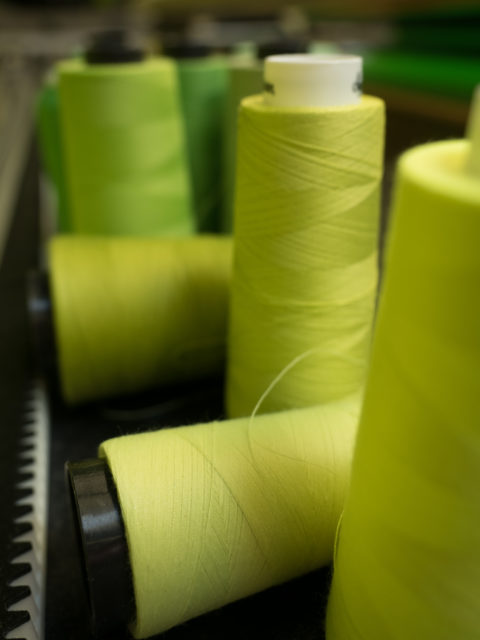
Many modern quilts have lots of great colors and we mix solids with prints. Yay! and also aack! now what color to use? Again, I look to the fabrics in the quilt top, but green and yellow are really good choices to start with. And what works really well in many cases? A yellow-y-green like this or a greenish-yellow like this.

But wait! (you say) What about all of the other colors of thread on your wall? I can assure you, they’re not for show. What we’ve been talking about up to now is choosing one thread to use for an entire quilt. But if the quilting calls for something more than an overall design, then I typically choose a thread color that matches the fabric I’m working on. So that’s where aaallll those other threads come into play. Oh yeah, we play. Wanna play? Got a thread color question? Post it here, or ask me on facebook or instagram. Or come on over and we’ll have a thread party. Yay color!

Finishing a quilt binding

There are a lot of tips and tricks out there for just about every sewing and quilting situation, so here’s my entry in the “how-to-finish-a-quilt-binding” category. This tutorial assumes you know how to create the binding and are ready to sew it onto the quilt top.

This works with any size binding, since you use a scrap of your binding as a measurement. Leave a 10-12″ tail before you start sewing on the binding; stop sewing the binding to the quilt about 10-12″ before the end. This 10-12″ gap will leave you with enough room to join the binding and finish sewing it to the quilt.

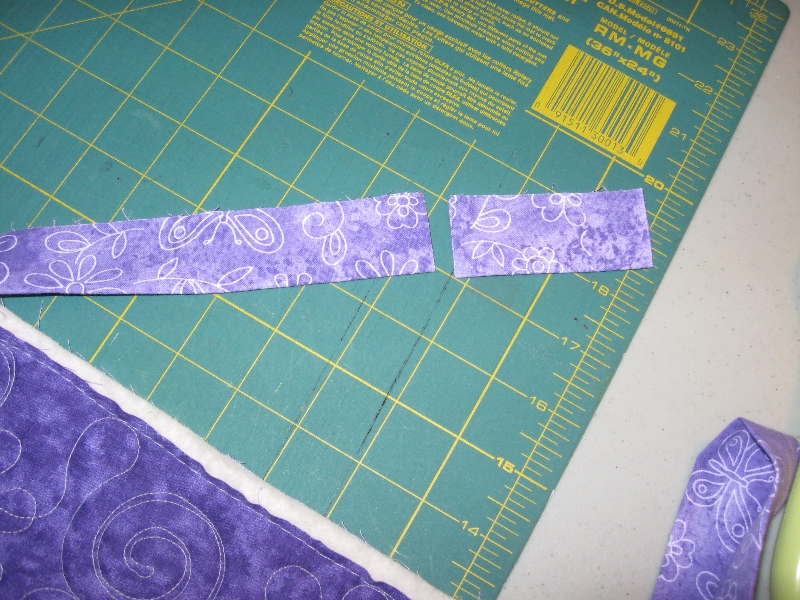
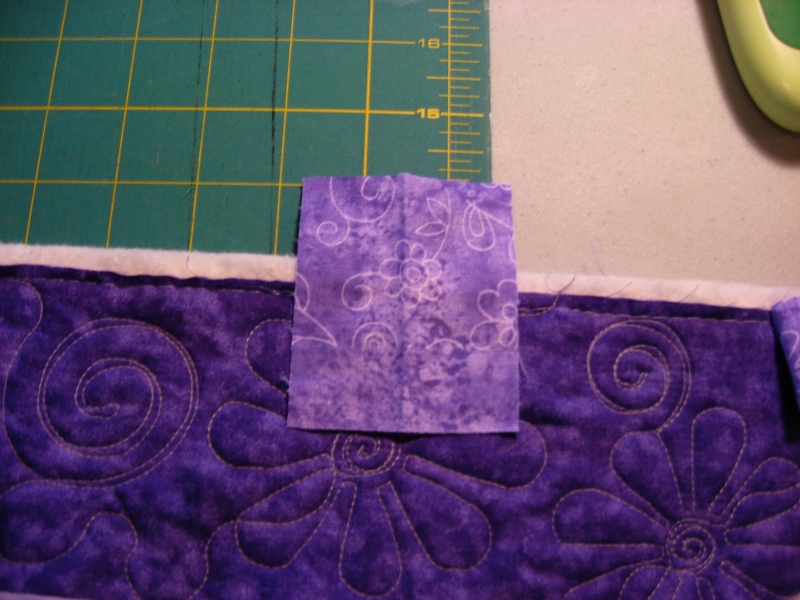
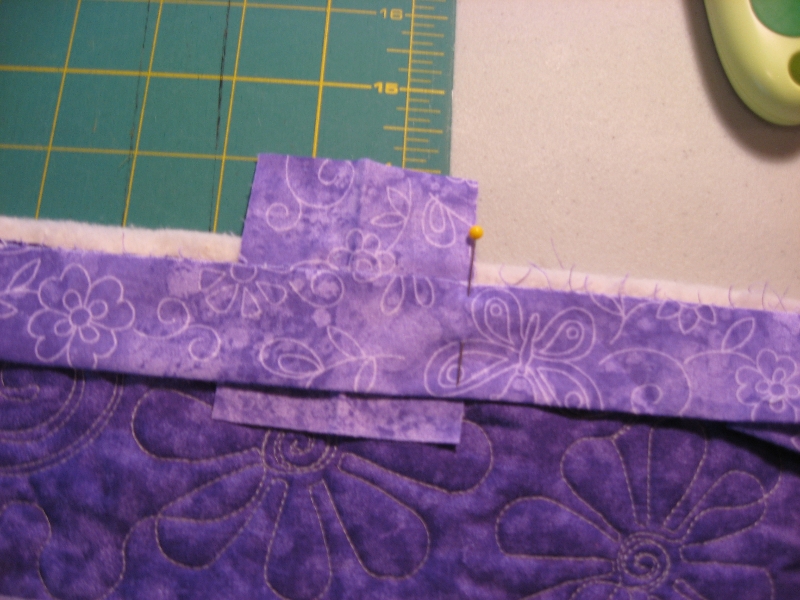
Step 1: Cut a small piece of your binding and place it on the quilt about halfway between the 10-12″ gap mentioned above.

cut a scrap of binding to use for measuring
place the scrap of binding across the quilt edge

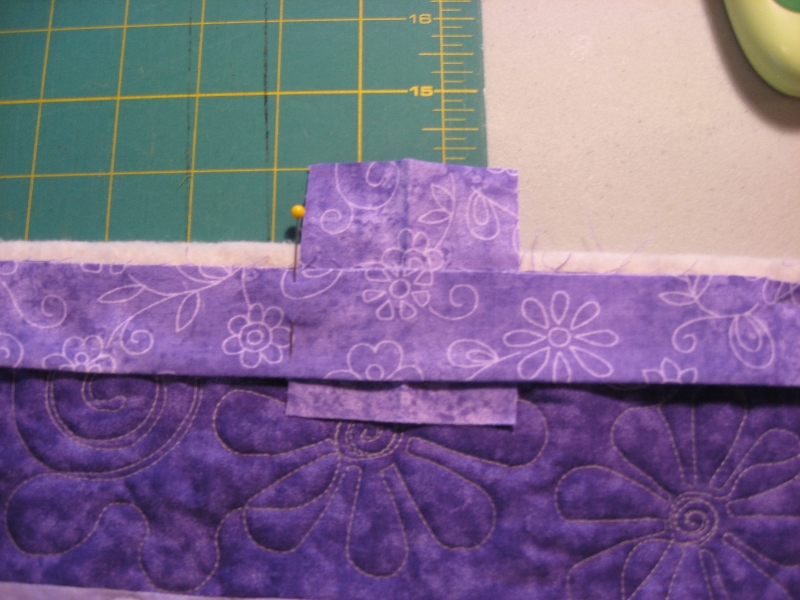
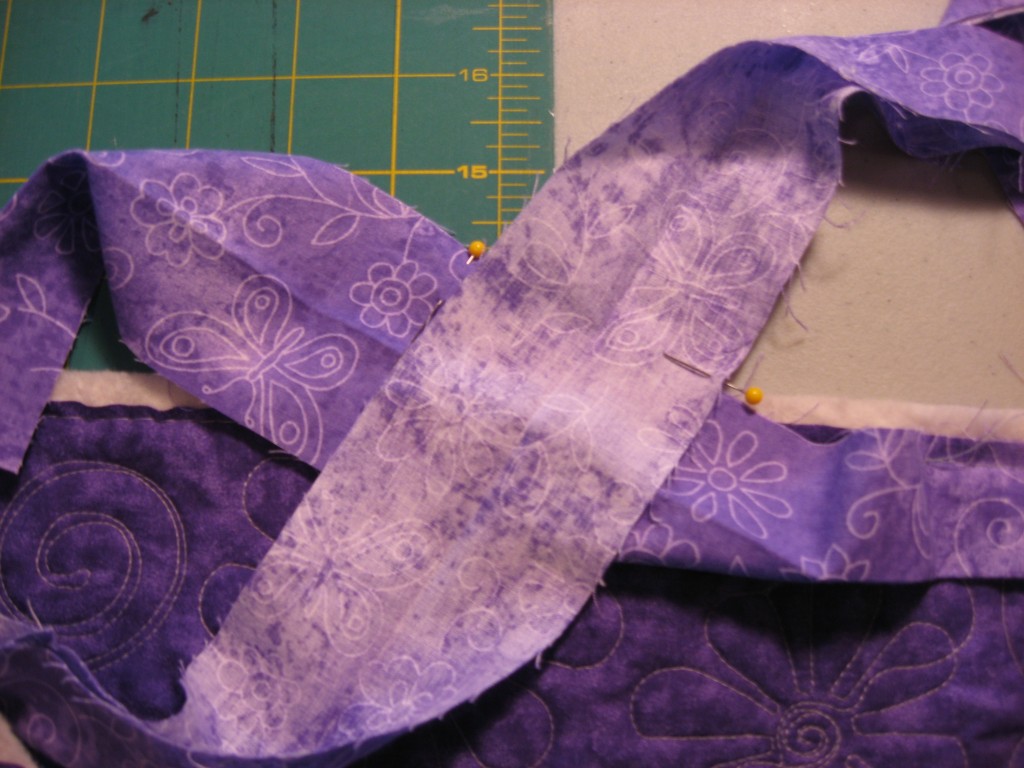
Step 2: lay the tail from the beginning of the binding across the scrap and place a pin (as a marker) in the binding on the left-hand side of the scrap as shown below:

lay the tail over the scrap binding and place a pin in the binding
lay the beginning tail over the scrap binding and place a pin in the binding

Step 3: lay the tail from the end of the binding across the scrap and place a pin (as a marker) in the binding on the right-hand side of the scrap as shown below:

lay the end tail over the scrap binding and place a pin in the binding

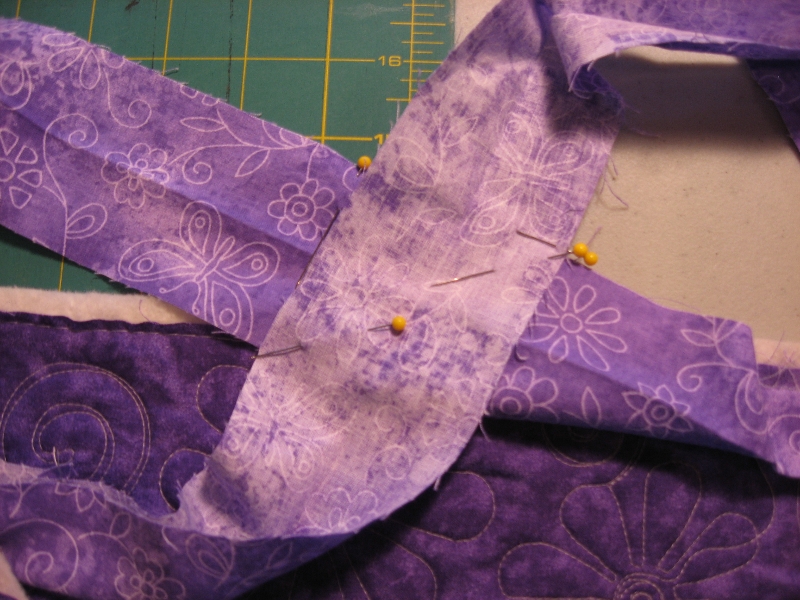
Step 4: (this is the only tricky part, but you’ll get it once you see it!) With right sides together, lay the left-hand side of the binding over the right-hand side of the binding, laying the marker pins perpendicular to each other.

lay the end of the binding over the start of the binding, right sides together with pins at a 90-degree angle

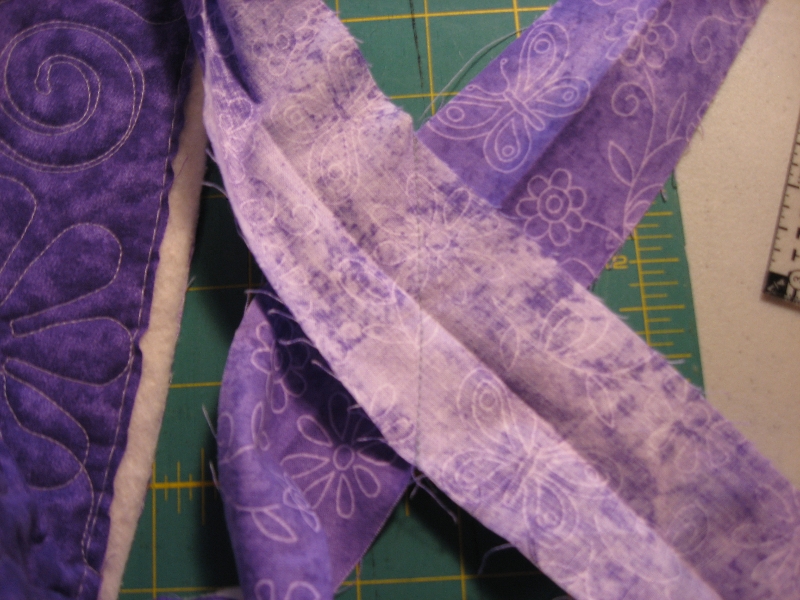
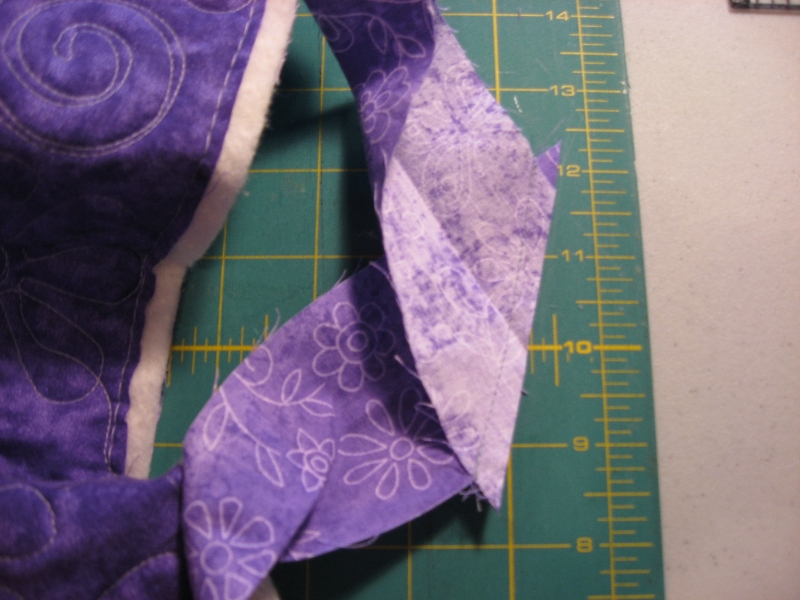
Step 5:  Pin and stitch the two strips together across the diagonal.

join strips diagonally
stitch strips together on the diagonal

Step 6: Trim the seam to 1/4″

trim seam to 1/4"
trim seam to 1/4″

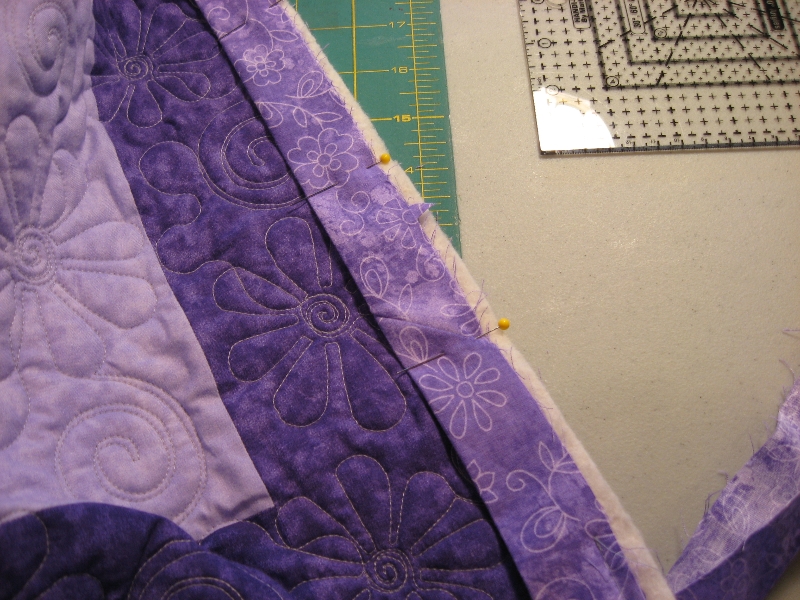
Step 7: Press seam, then pin binding and stitch to edge of quilt. Finished!

pin joined binding to edge of quilt
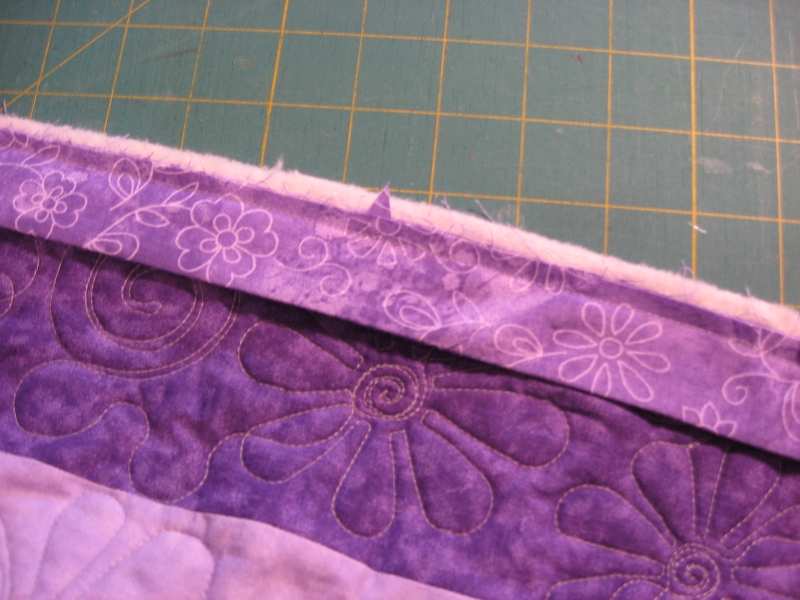
stitch binding to quilt--finished!
stitch binding to quilt–finished!

And that’s really all there is to it. This method works for any size binding, because you use a piece of the binding to measure the distance needed. This is only one method, and there are many ways to finish a quilt. But I’ve been using this method for years and it always turns out perfectly.