All posts by admin

Many (ok, most) people notice my thread wall(s) when they enter my studio for the first time. Lots of people ask to take pictures (of course, be my guest!), and I get lots of comments about my nearly-famous thread wall.

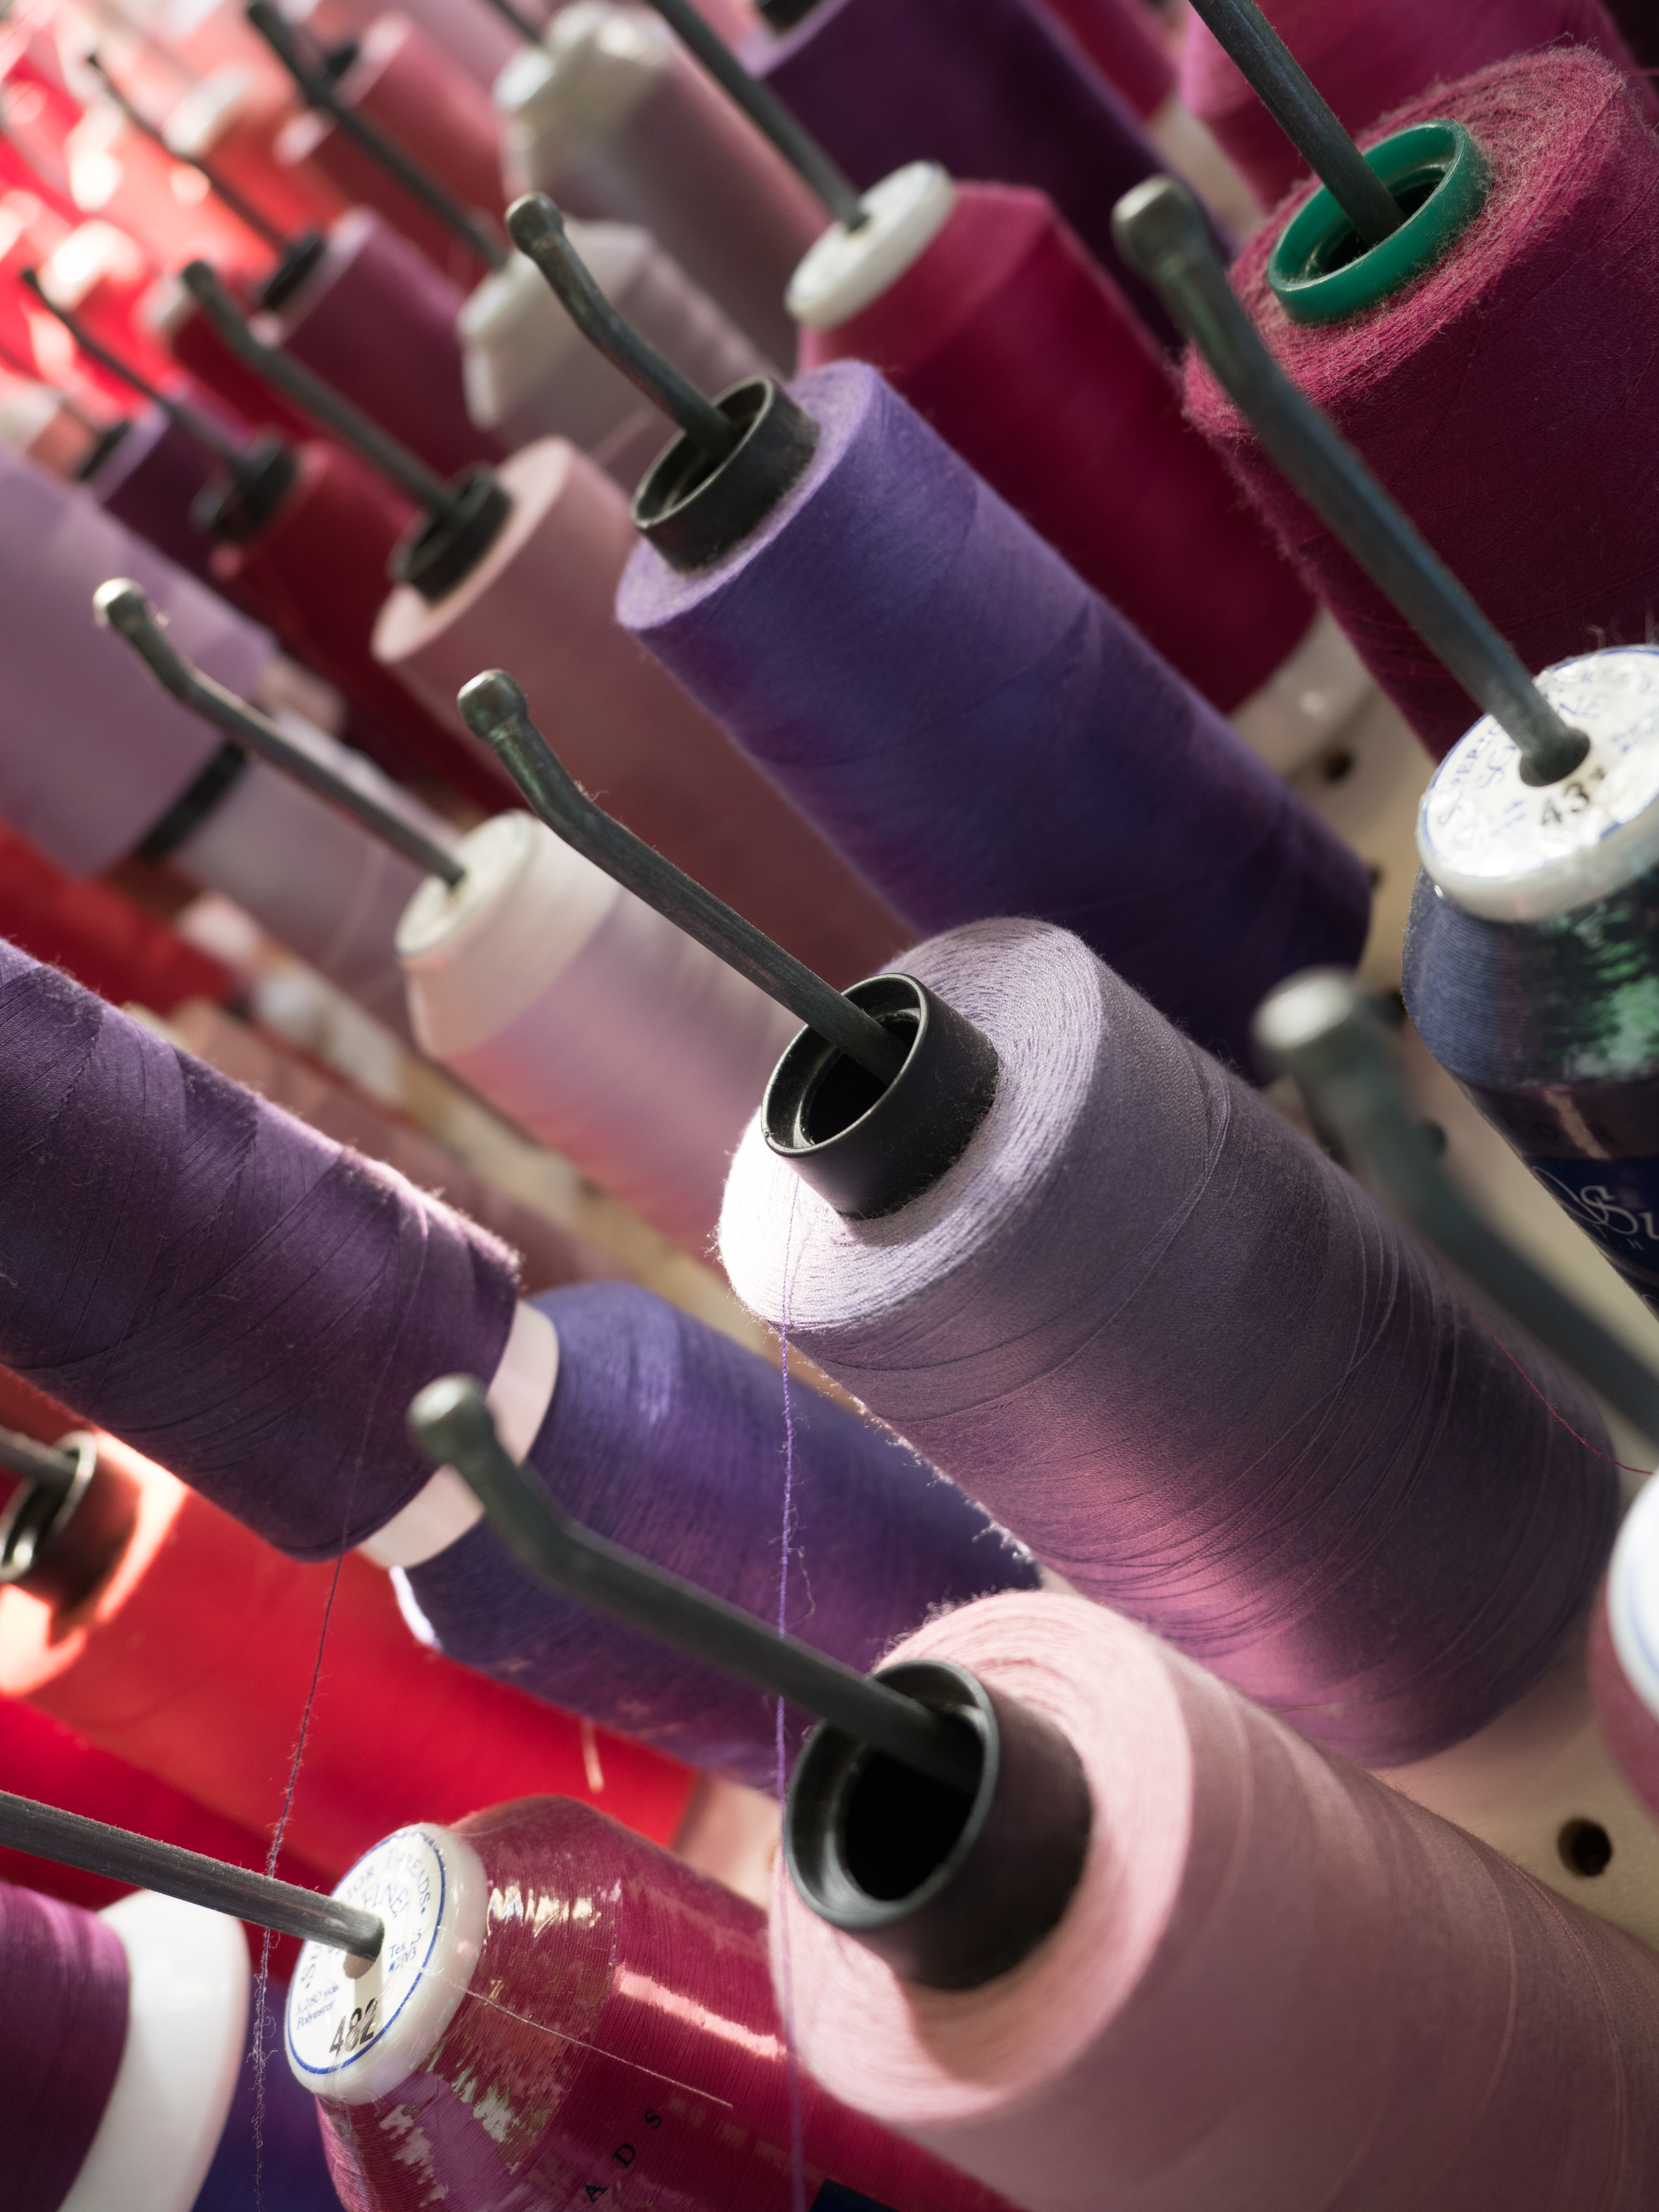
Someone even once suggested that maybe I didn’t use all of the colors that I have. Um, actually, I do.

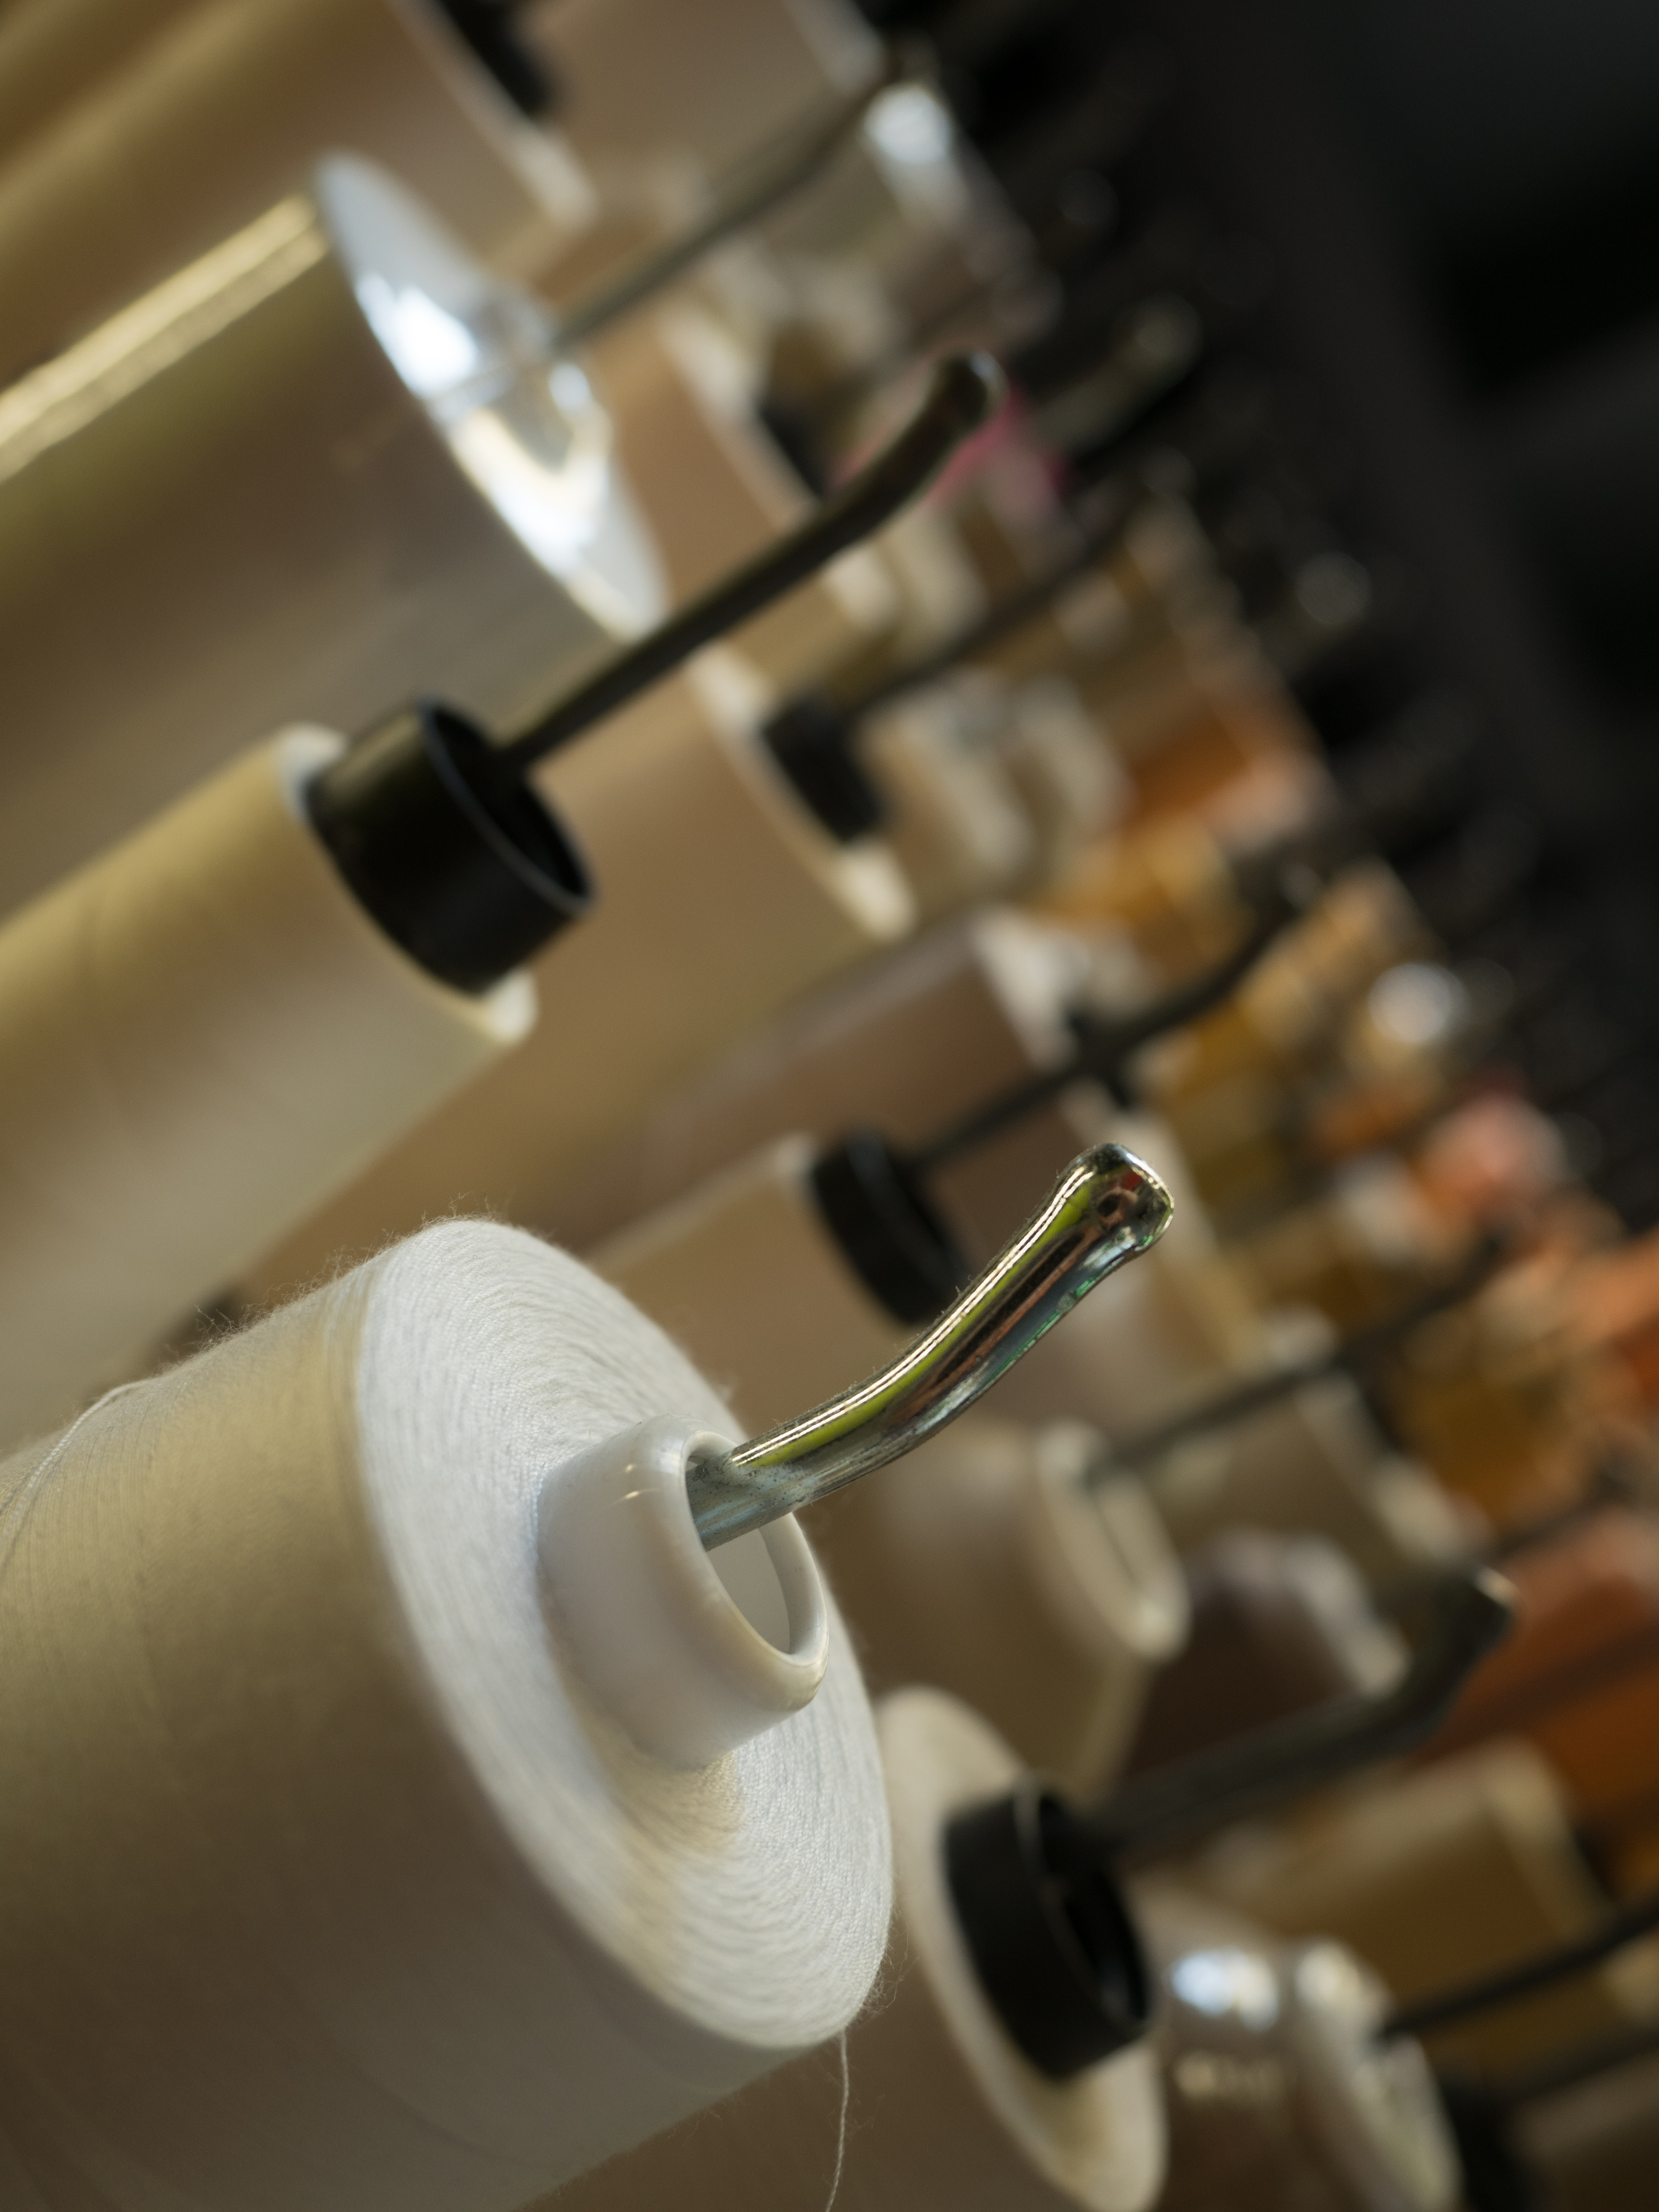
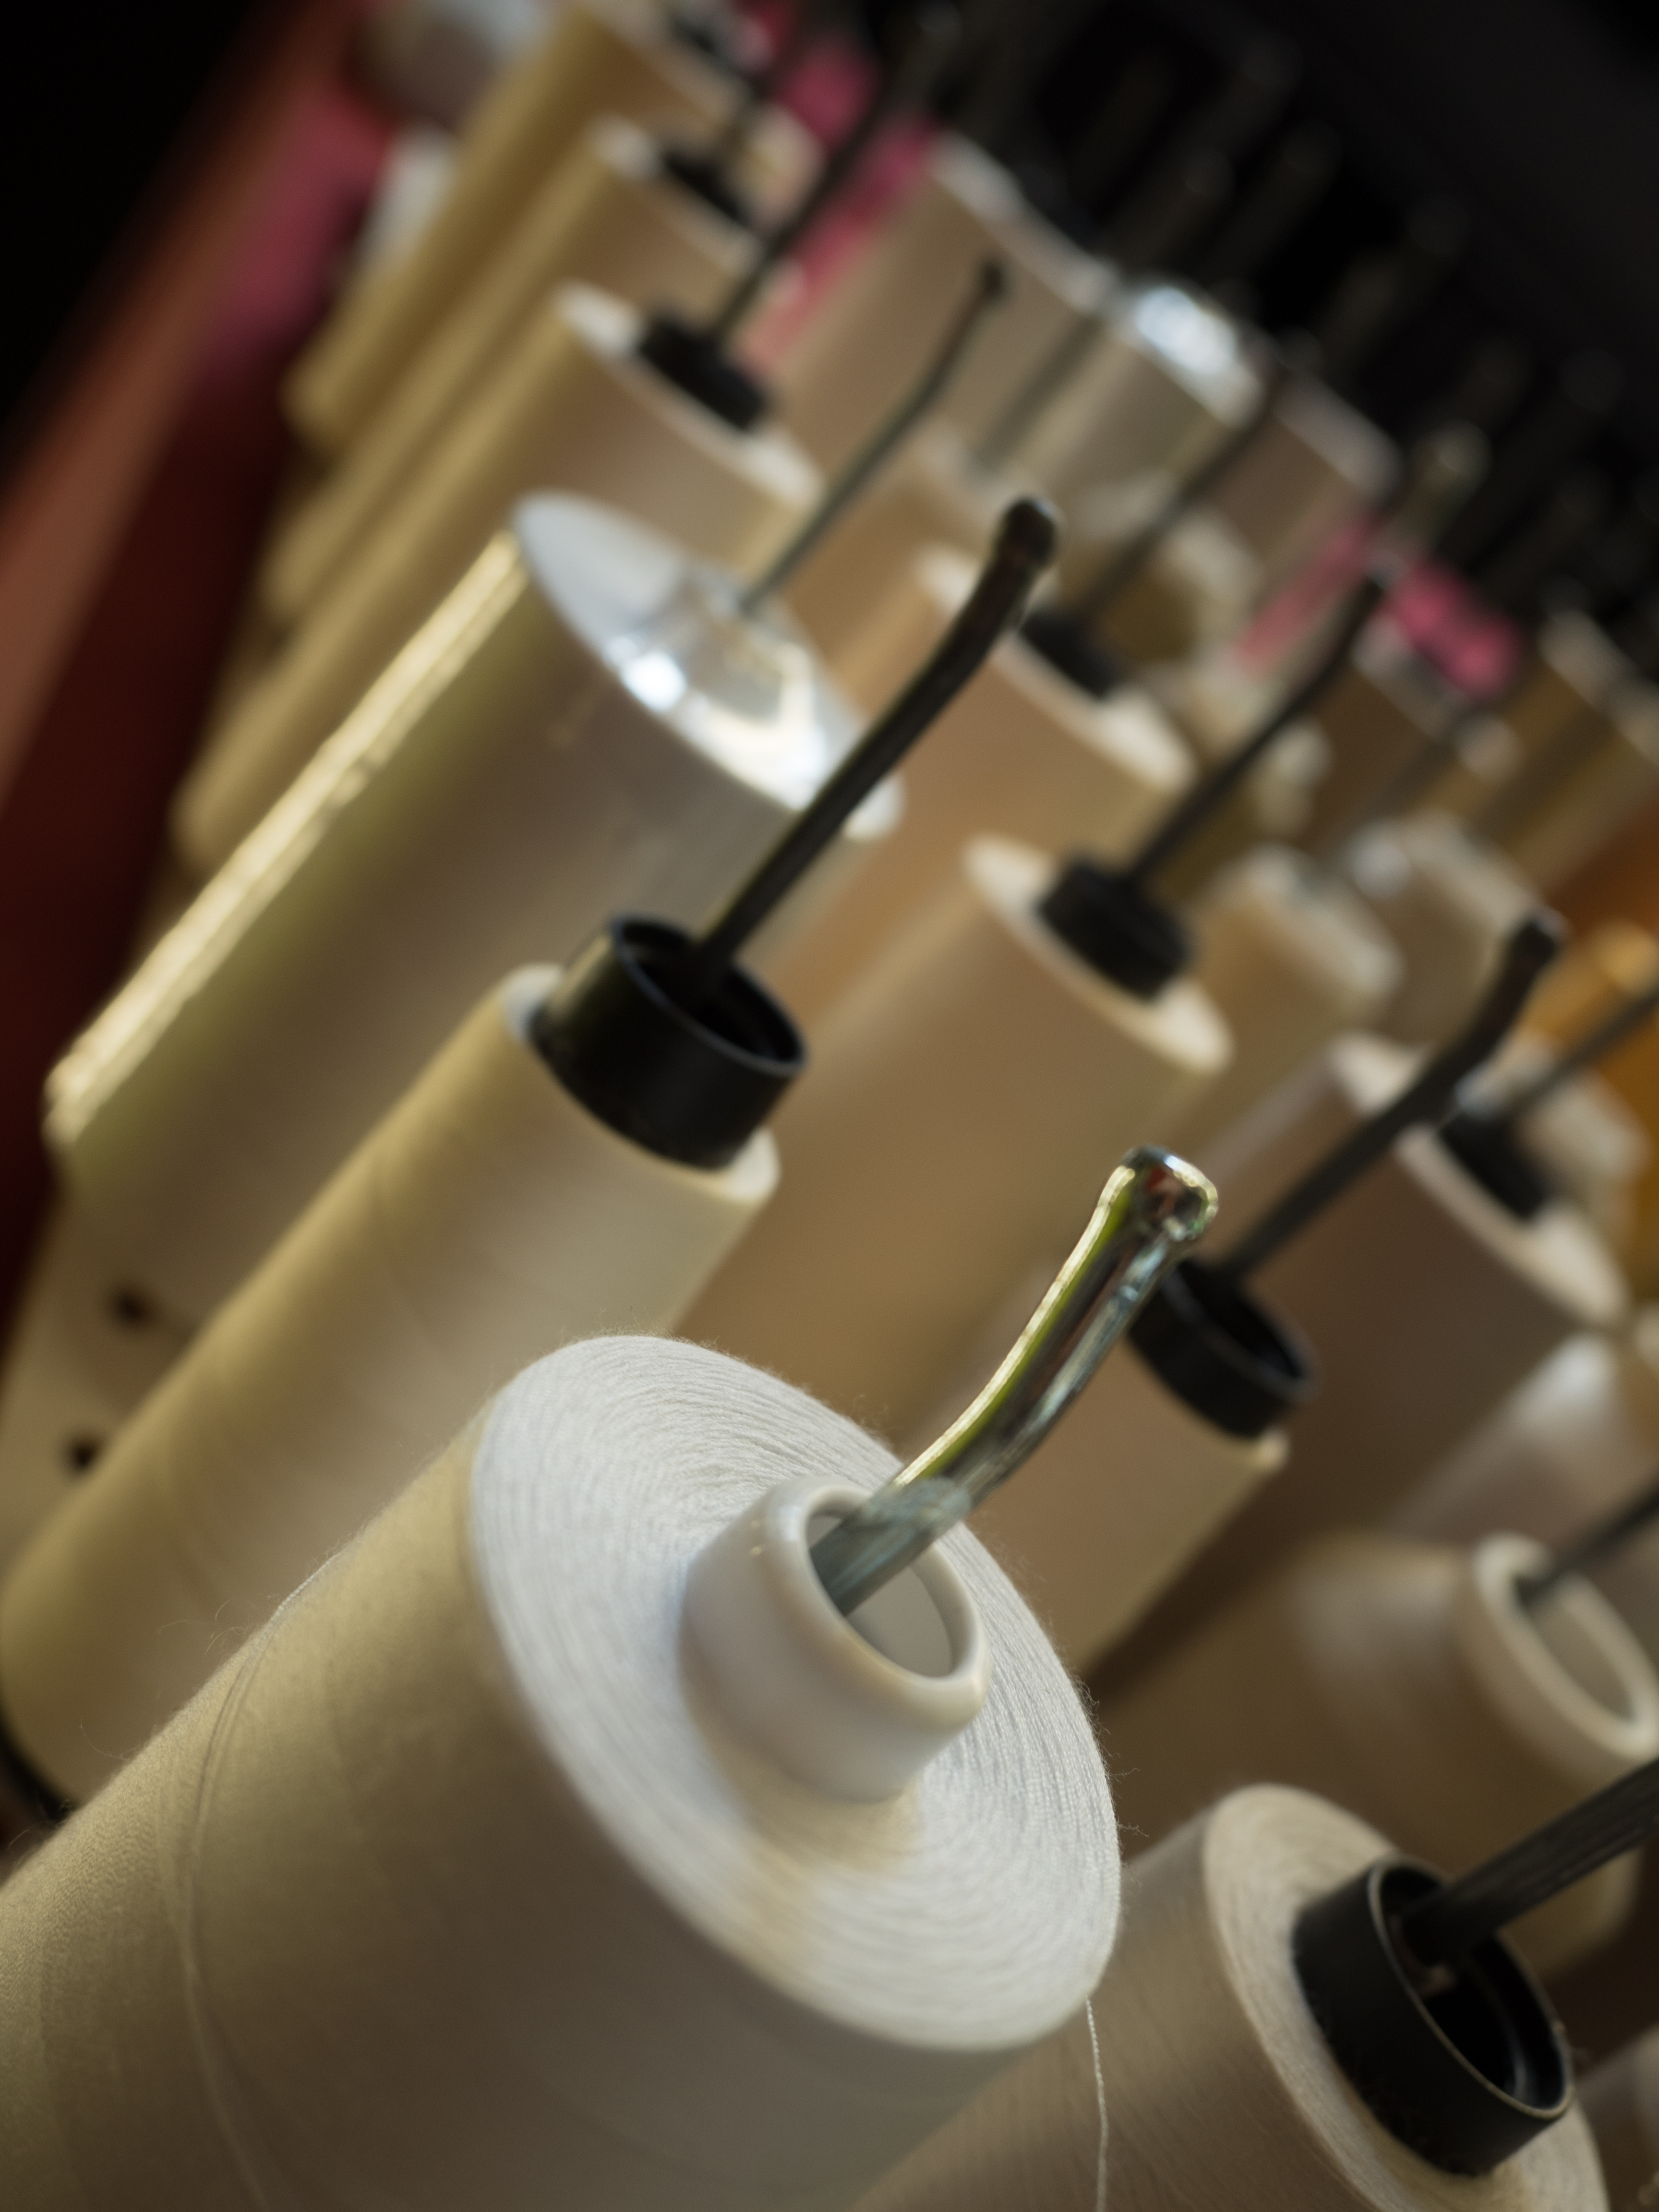
The other running joke in my studio is that while I don’t have 50 shades of gray, I do have 25 shades of nearly white.

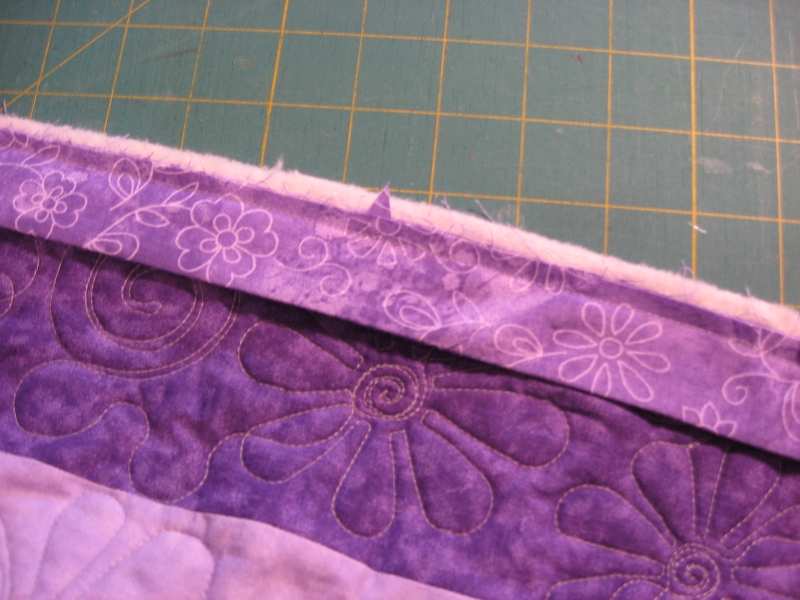
So how do I choose which thread color to use? My goal is to find a color that works with all of the fabrics, and often times, it’s easy. Even If the quilt top itself is predominantly one color I’ll select a few cones of thread and pool a bit of each thread color on the quilt top to get a better idea of how each thread will look in quantity. I’ve discovered that what a spool of thread looks like is different than what a pool of thread looks like (what a difference one letter makes).

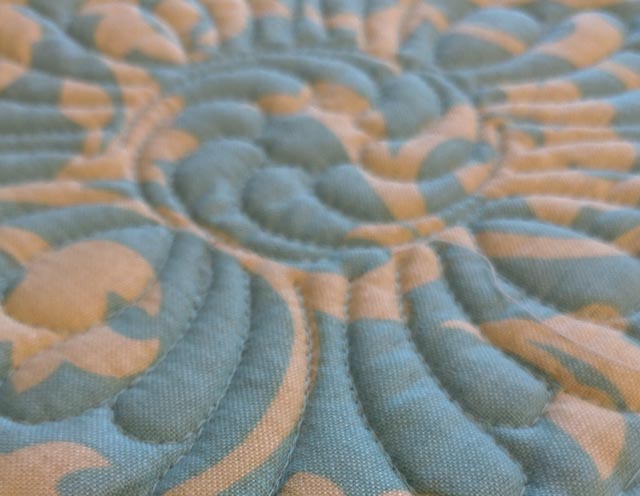
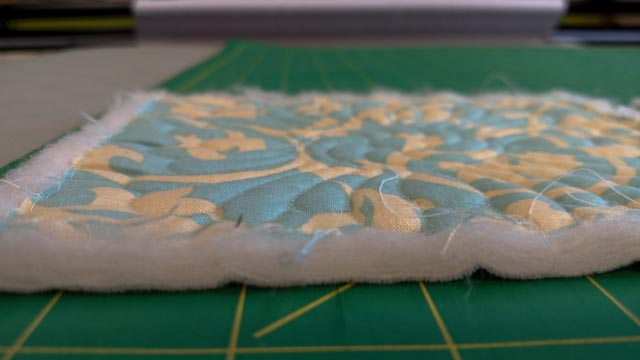
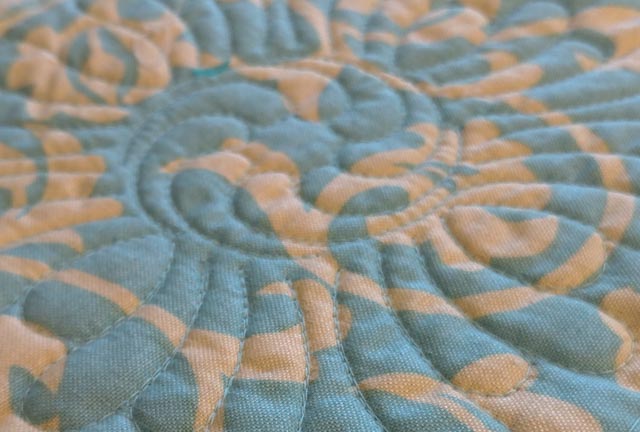
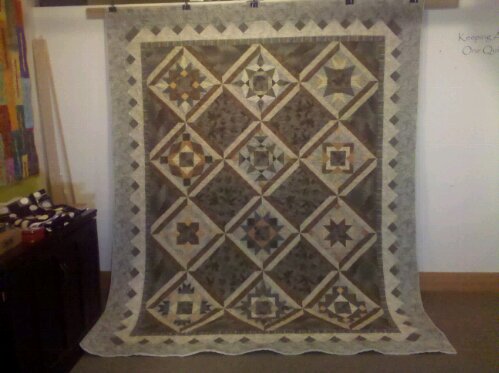
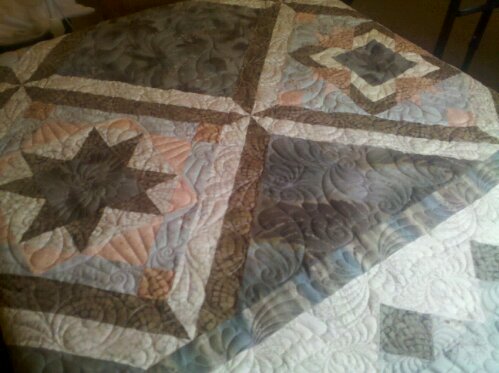
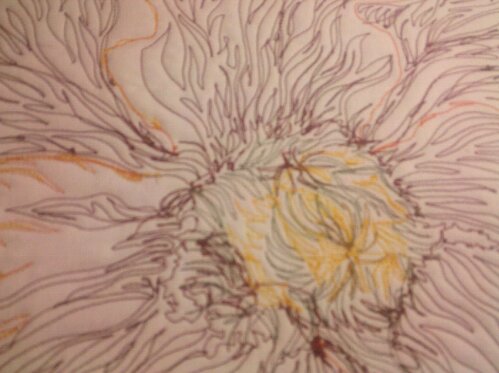
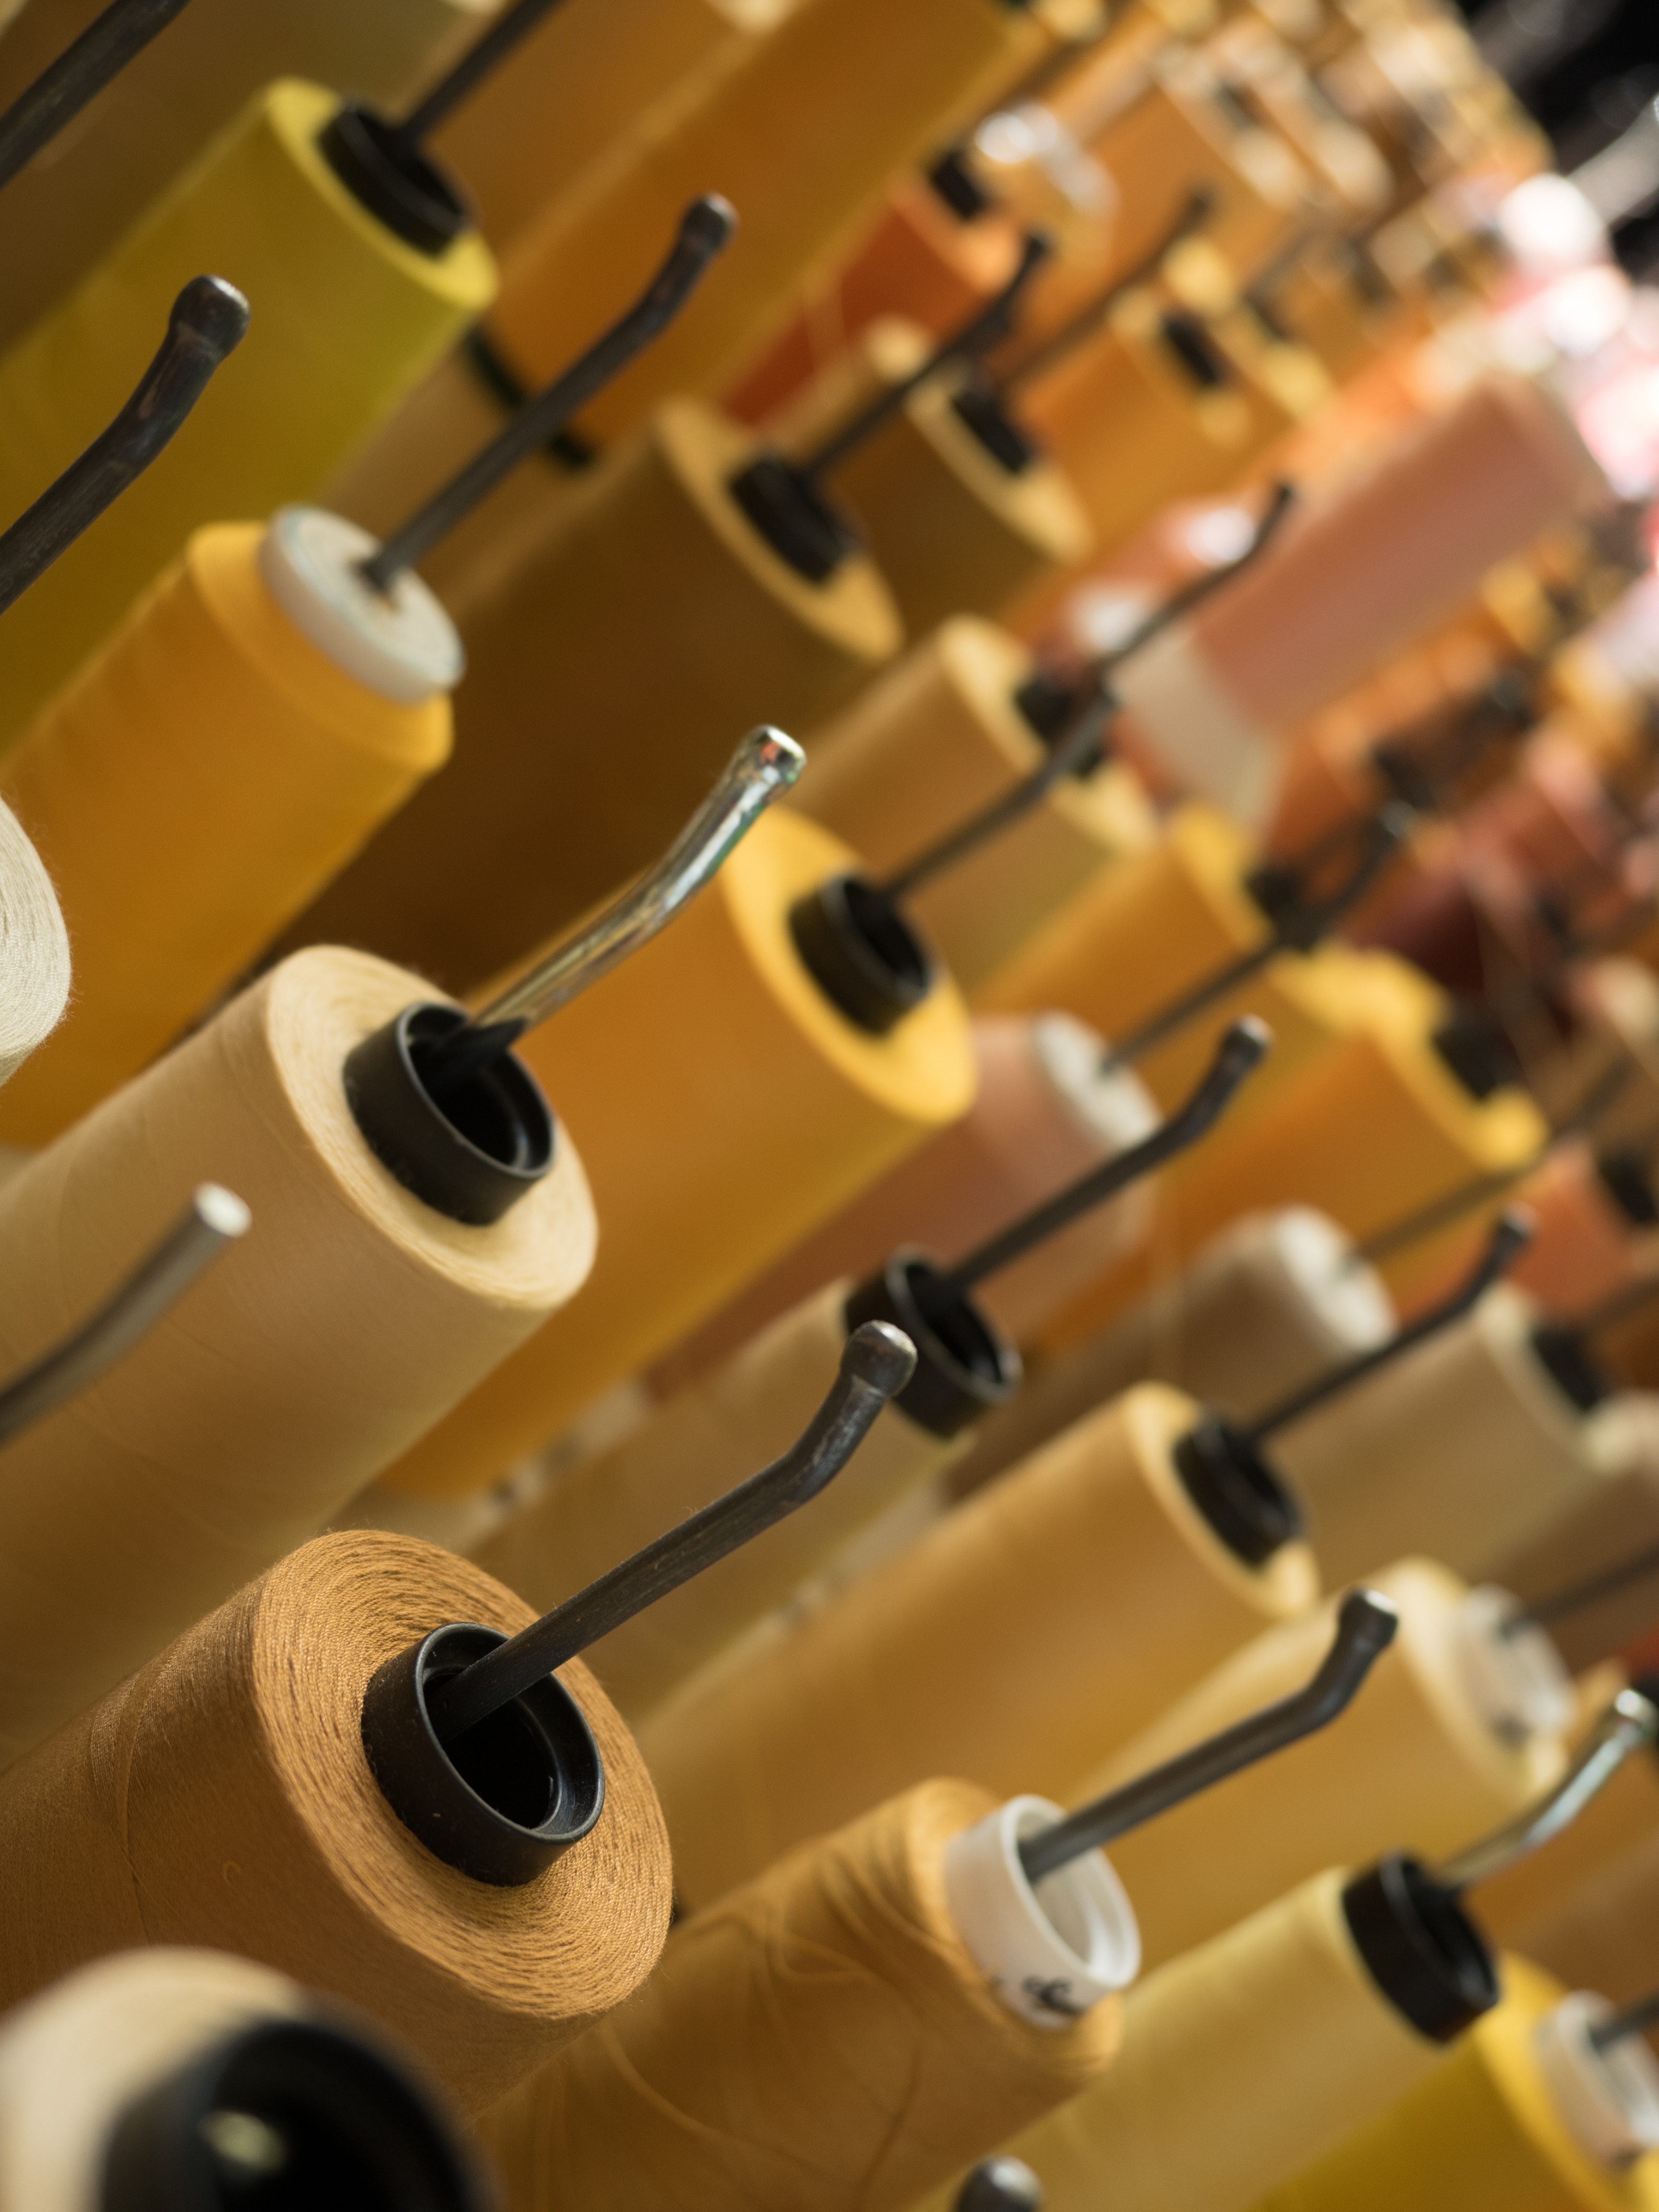
My general thread philosophy is that I don’t want the quilting to compete with the quilt top, but rather complement the quilt top. So I typically select a thread color that blends rather than contrasts with the colors in the quilt. If there’s a lot of light colors, then I’ll lean toward “natural” or a light version of the quilt’s dominant color–for instance, pale pink, lemonade, or celery.

What (you may ask with a twinkle in your eye) color would you choose if there are a lot of bright, different colors? Great question (I say, twinkling back)!

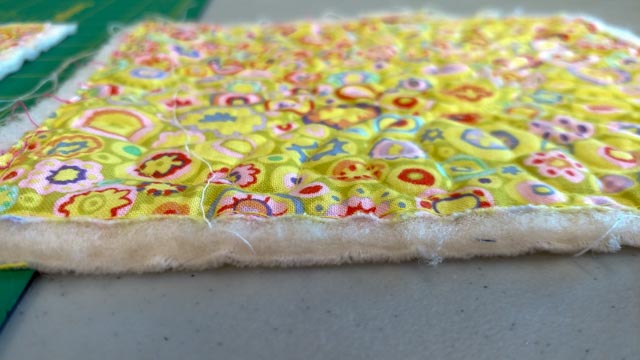
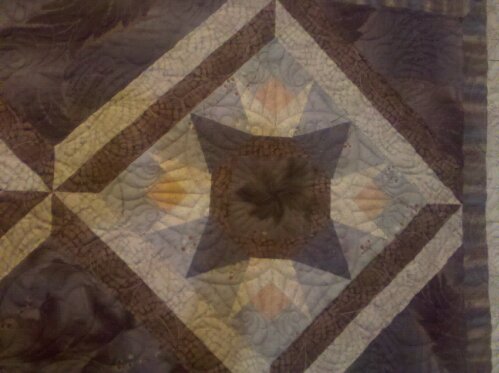
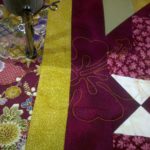
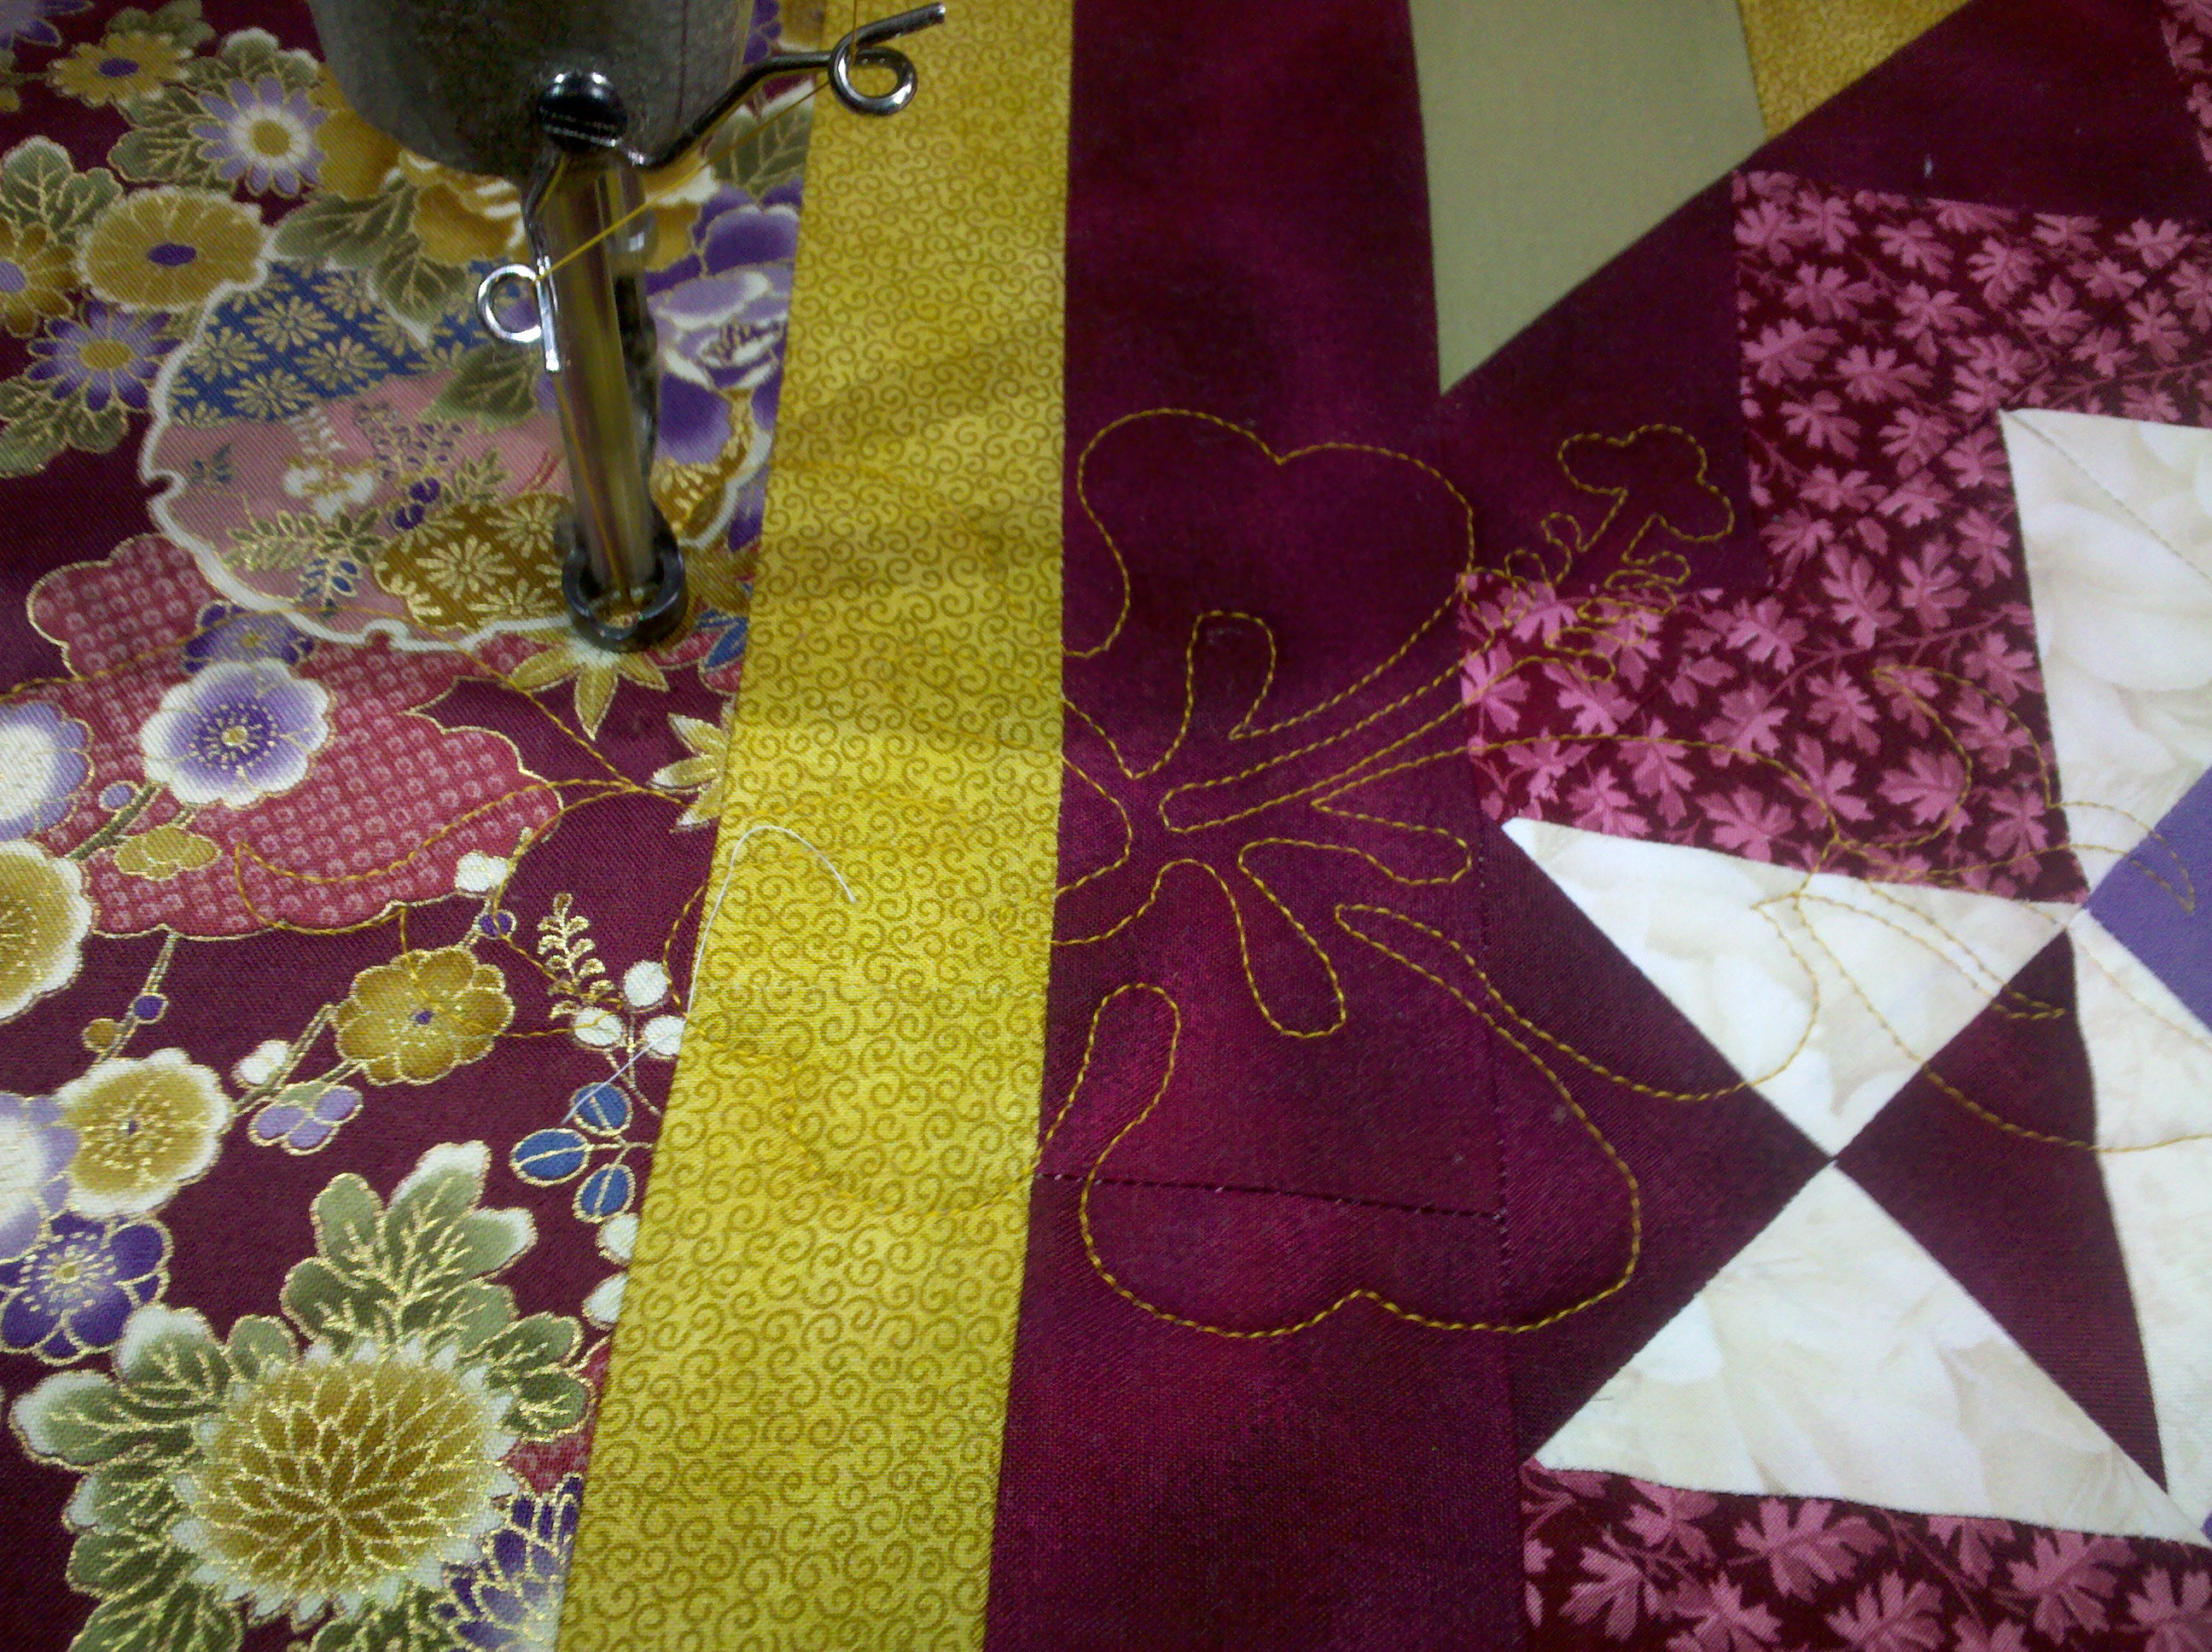
As an example, there are many beautiful Asian-inspired fabrics that have lots of different colors, some light and some dark. But they almost all have a bit of gold in them, and I’ve found that using a gold-ish color works perfectly.

gold chrysanthemums
gold chrysanthemums

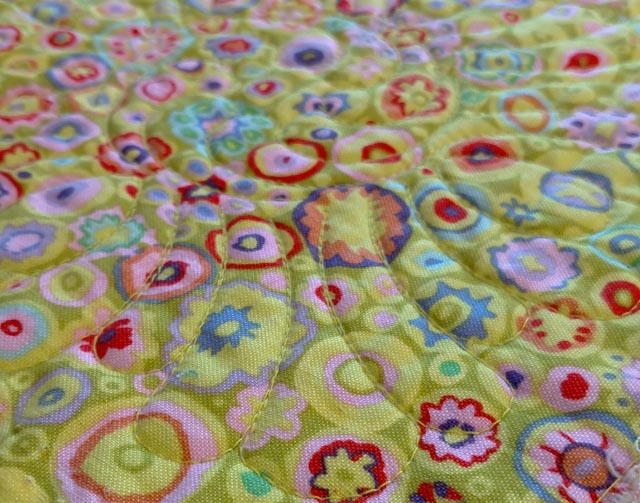
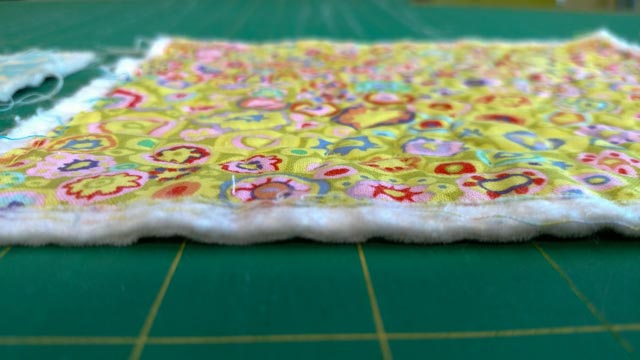
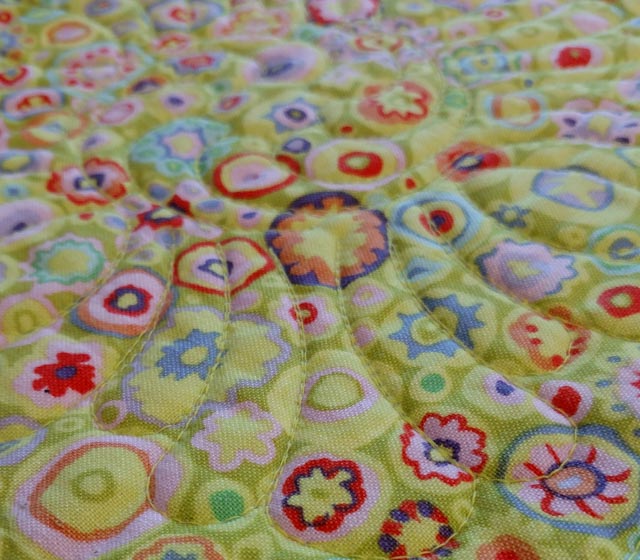
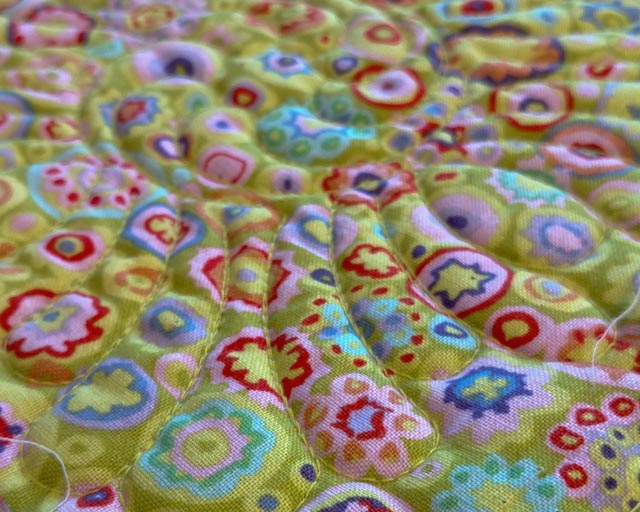
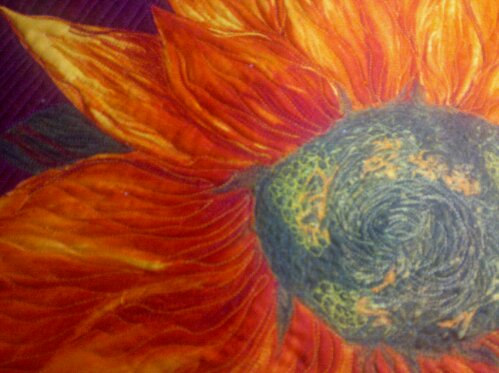
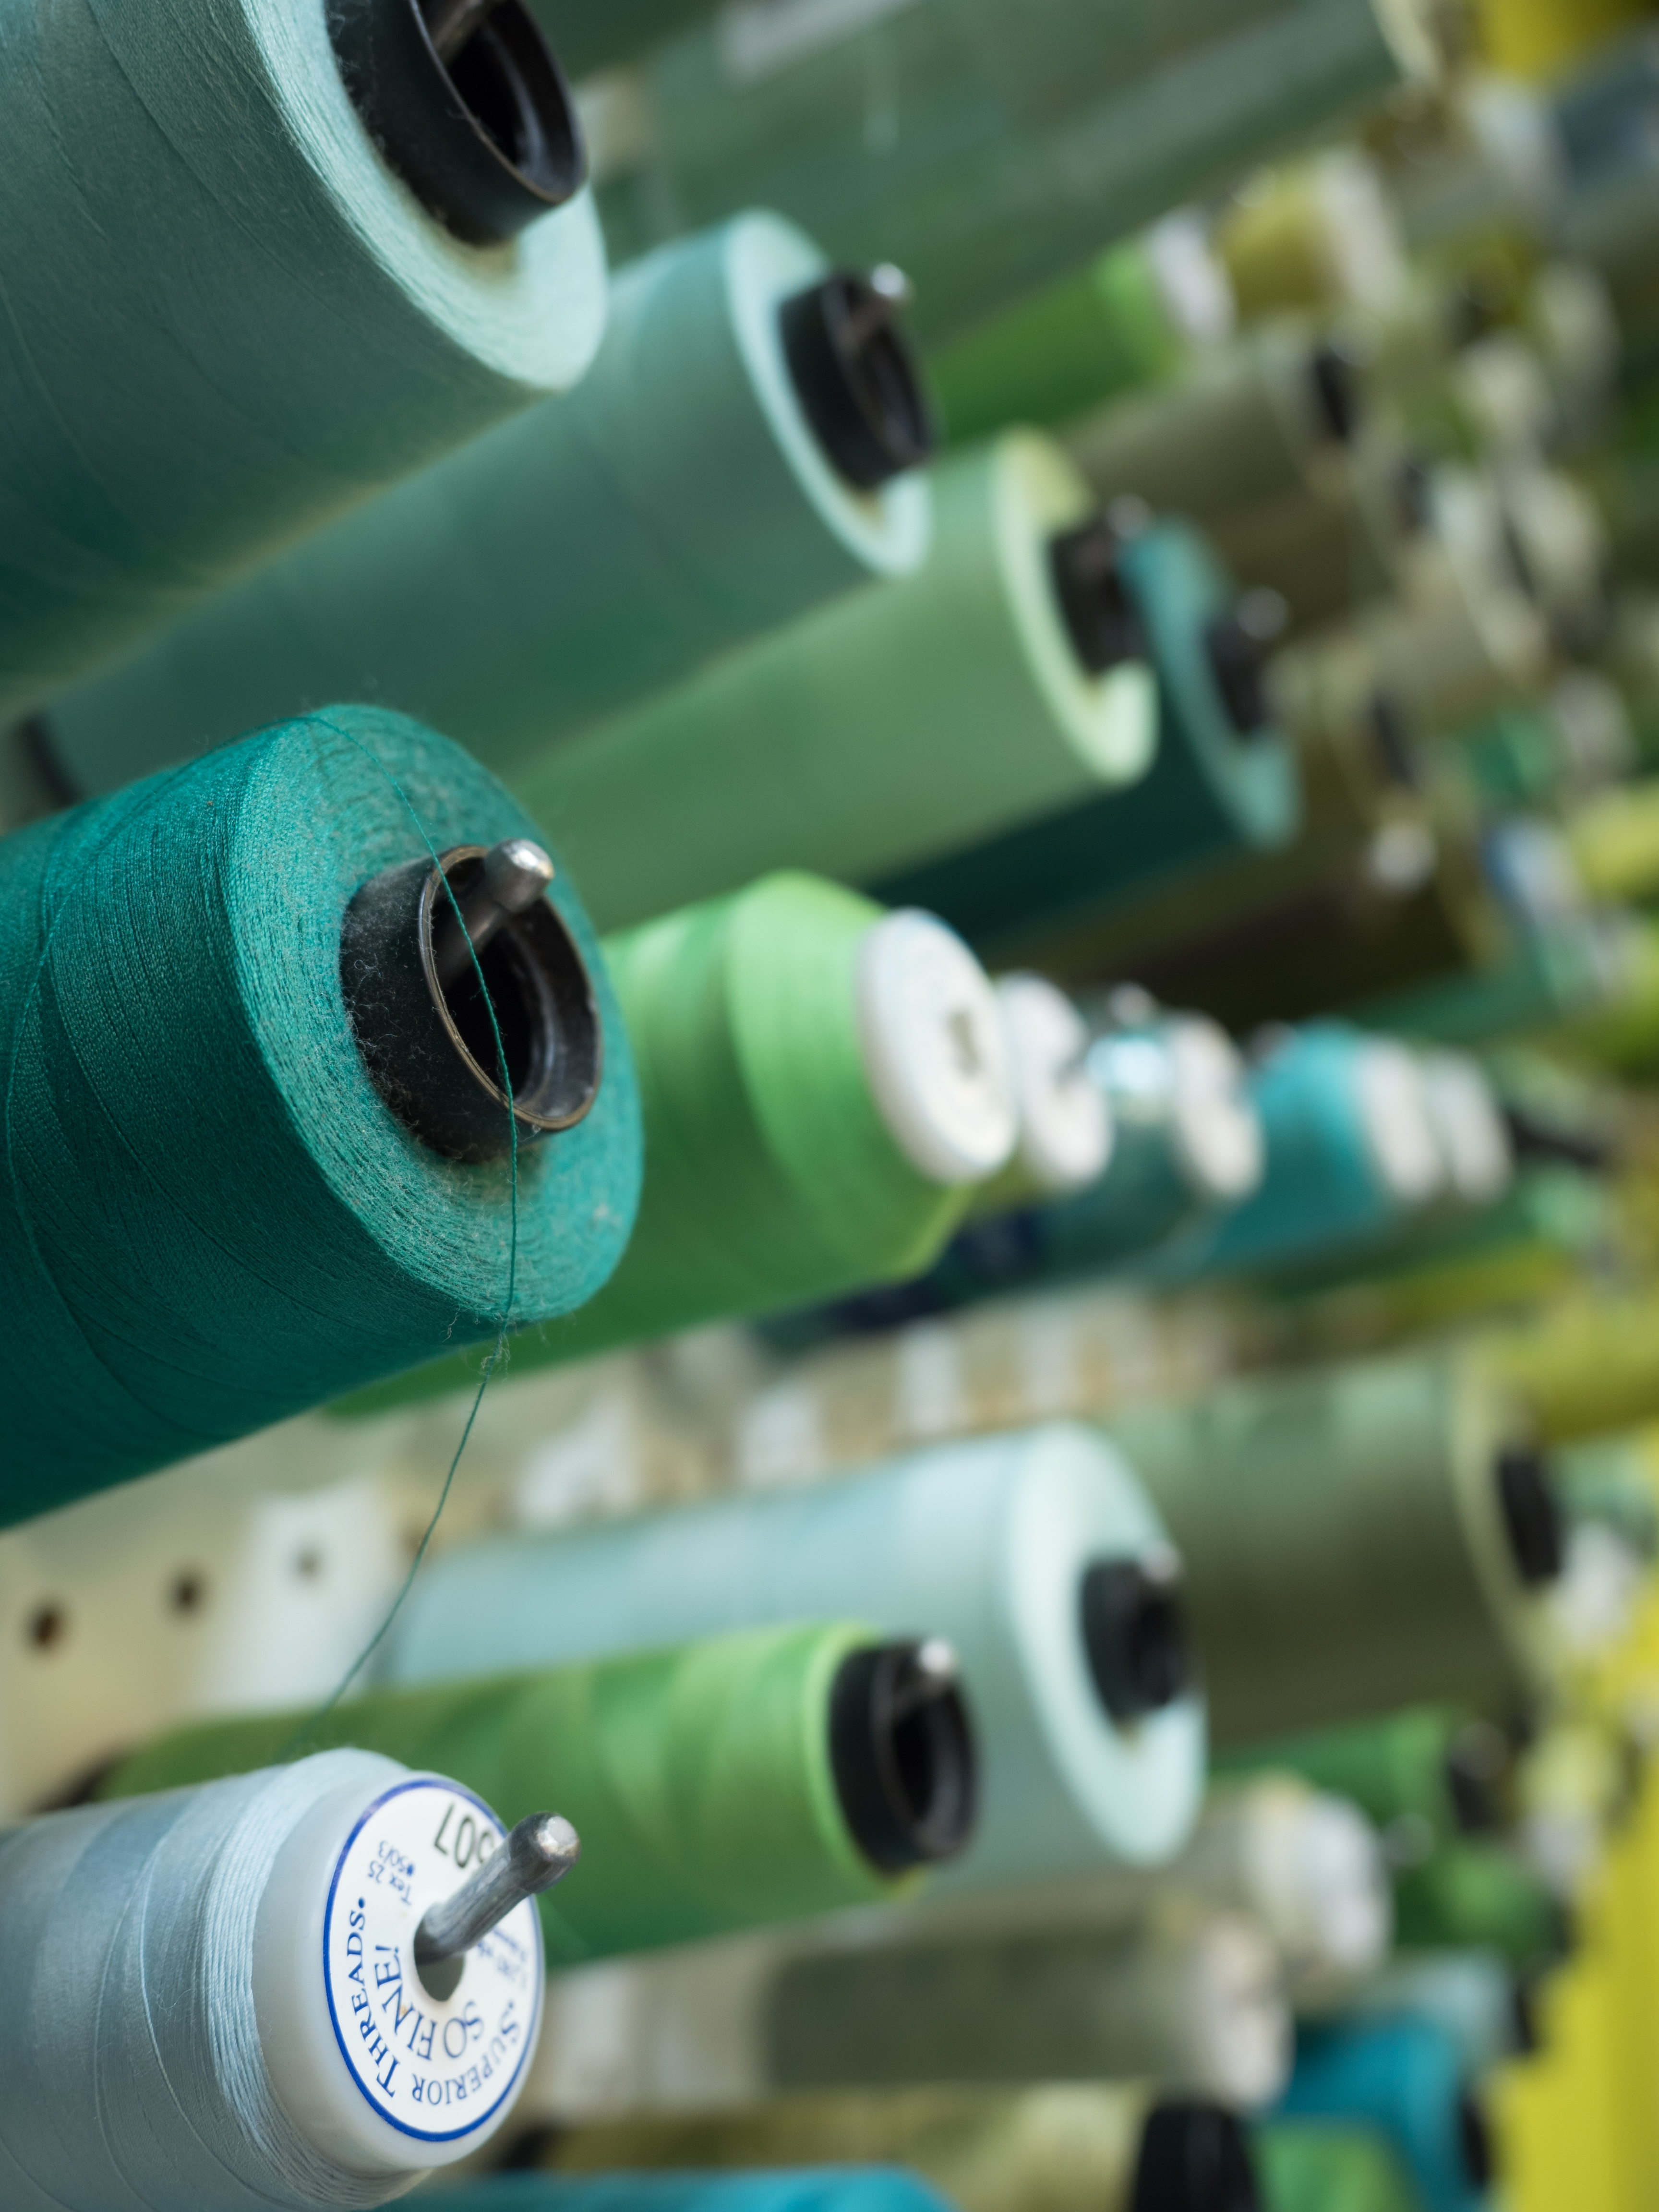
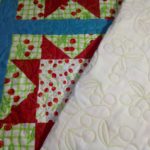
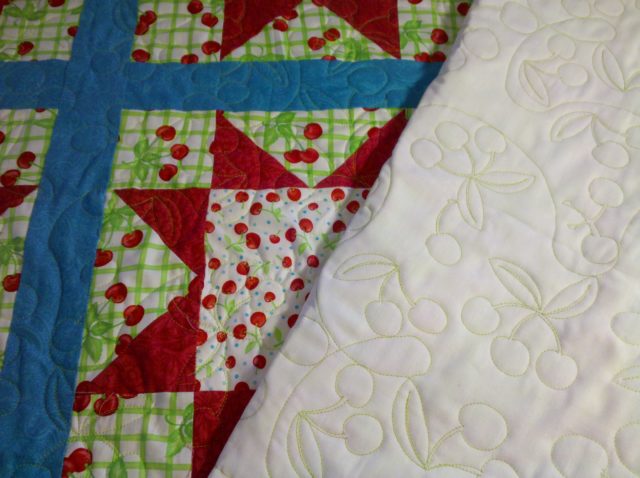
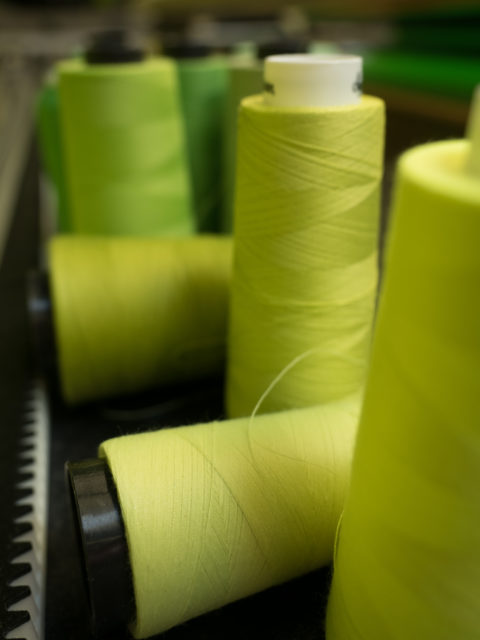
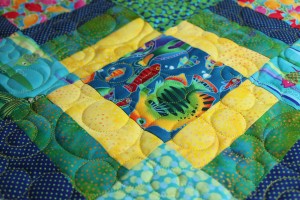
Many modern quilts have lots of great colors and we mix solids with prints. Yay! and also aack! now what color to use? Again, I look to the fabrics in the quilt top, but green and yellow are really good choices to start with. And what works really well in many cases? A yellow-y-green like this or a greenish-yellow like this.

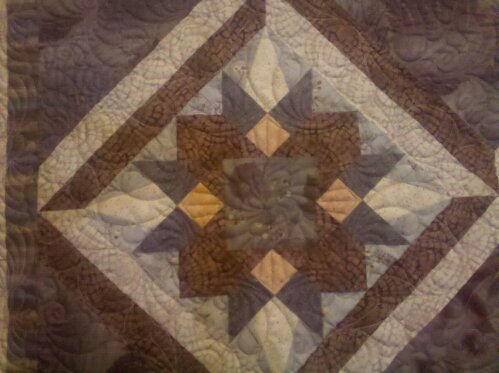
But wait! (you say) What about all of the other colors of thread on your wall? I can assure you, they’re not for show. What we’ve been talking about up to now is choosing one thread to use for an entire quilt. But if the quilting calls for something more than an overall design, then I typically choose a thread color that matches the fabric I’m working on. So that’s where aaallll those other threads come into play. Oh yeah, we play. Wanna play? Got a thread color question? Post it here, or ask me on facebook or instagram. Or come on over and we’ll have a thread party. Yay color!

Batting Choices: The Sweet Creamy Filling

I’m a longarm quilter, so I work with all kinds of batting all the time. But it seems that while there’s information “out there” about quilt batting, we don’t talk about it that much. Anyone who knows me will testify that I can talk about quilting forever, so let’s talk about batting choices–what choices we have and why to choose any particular one.

It’s the yummy filling, right? These days there are lots of options both in stores and online, so how do you choose? Let’s start with comparing a trio of common quilt batts, 100% cotton, 100%wool, and 80%cotton/20%wool blend.

My Two Cents.  When I select a batting I think about two things: Loft and Weight.

Loft. How “pouffy” do you like your quilt? Cotton is a traditional quilt batting, its low loft tends to give you a flat quilt. I have friends who loooooove cotton batting and won’t use anything else. It gets very soft over time and washes, and has that irresistible “grandma’s quilt” feel.  Wool is a higher loft batting and can be quilted heavily without any loss of flexibility. If you’ve ever petted a lamb, you’ve felt the natural crimp of wool. That crimp will reach out and cuddle you if you’re even near it. As you might expect, the 80/20Blend is a mid-loft batting. You can quilt it more densely than 100% cotton, and the 20% wool gives it a lovely drape. If you’re wanting to branch out from 100% cotton, dip your toes in here.

Here’s pictures of samples that I’ve quilted up to show cotton, 80/20 blend, and wool batting using the same cotton fabric and quilting motif. These samples have all been washed and dried.

Weight. For most quilts, weight isn’t that much of a consideration. But some of us like a heavy weight on us while we sleep, and some quilts are large enough that just making the bed becomes an aerobic workout.  Cotton is, in fact, the heaviest of the three batts we’re considering, even though it is the flattest. Wool is (surprise!) the lightest of these three batts, making it a good choice for large quilts. The 80/20Blend batting is a good compromise between the two weights; especially good in quilts for college dorms, young children and babies.

Cost. In my experience, there’s not a big difference in the cost of these batts. I carry all three of these batts in my studio; the wool batting is only a few dollars more than either the cotton or the blend.

My fave. I always use wool in my quilts, for the loft, weight and drape. Wool batting doesn’t have a memory, so it won’t hold a crease, which makes it a favorite choice for traveling or stored quilts, AND it can be quilted to within an inch of it’s life without becoming stiff. It’s warm in the winter and cool in the summer, good for all climates. Hand quilters will love how easily they can slide the needle in and out of a wool batting. But this is my preference–it might not be yours.

What else is out there? Silkbamboo, polyester, and even recycled batts are available. Silk and bamboo have a softer, more fluid drape than cotton and wool, though silk has a loft more like the 80/20Blend while bamboo’s loft is closer to cotton. Poly batts range from low loft to ultra-high loft, check the package for details. Recycled batts tend to be soft and have a low loft. Some are even a pale green color, so check your quilt fabrics for color bleed just to be sure.

And here’s sample of silk and bamboo batting, also using the same cotton fabric and quilting motif, both washed and dried.

More is More? There have been lots of times when I’ve used more than one batting in a single quilt. Whaaaa??? Yep, show quilts often have a cotton batt next to the backing and a wool batt on top of that. The cotton will provide a stable base for hanging, while the wool enhances the piecing and quilting. Art quilts often have more than one batting or batting types to give stability and shape as desired by the artist.

Care. These days most quality batts can be machine washed and dried. If you’re not sure, check the packaging. I’ve successfully washed and dried cotton, wool, 80/20blend, bamboo, and silk without any issues, though I will say that I use a low-temperature water in the wash and avoid the highest temperature in the dryer.

Your batting choice depends on your preferences–who’s the lucky recipient, how big is the quilt–what’s your favorite quilt “look”? I hope this introduction to batting choices gives you something to think–and talk–about. If you have any questions or thoughts about batting, please leave me a note. Let’s keep the conversation going!

Variety, Variegated

I’ll just say upfront that I’m not a huge fan of using variegated thread in quilting. My quilting philosophy is that the quilting shouldn’t compete with the piecing, and variegated thread quite often has that effect.

With variegated threads it’s impossible to predict what color thread will show up on any part of the top, and the unpredictable color changes distract the eye from what should be a harmonious design.

That said, there are times when variegated thread works really well. See?

variegatedGray.JPG

This is a great quilt top using a lot of Marcia Durse fabrics. Lots of different color blocks, all sashed with textural grays. We chose a thread with various colors of gray, and the water-drop circle pattern minimized any thread color changes.

Don’t you think?IMG_3850.JPGIMG_3848.JPGIMG_3849.JPGIMG_3846.JPGIMG_3844.JPG

A word about modern quilting

First, I would like to thank Geri Grasvik, The Pine Needle and the merry band of quilters who invited me to talk at their guild meeting in January. I talked about the concepts and motifs that are showing up on modern quilts; they were so gracious and made me feel so welcome. I hope I didn’t talk too long–it is hard to get me to stop once I start talking about quilting. Anyway, they were all terrific, enthusiastic and definitely will need a larger room very very soon.
* * * * * * *
Maybe you’ve heard the phrase “modern quilting”–and didn’t give it another thought. But if that phrase made you think “whaaa??” you’re not alone.

Modern quilting is a relatively new genre, and while the boundaries are still a bit fuzzy, the basic aesthetic is fairly well-defined. The Modern Quilt Guild has a laundry-list of the components on their website, but as more people are attracted to it, it will change.  

Part of the history of modern quilting is the role that technology played in it’s birth and early story. Quilters posted their efforts to blogs, other quilters found those pictures, shared their own, and eventually modern quilting was born.

Sigh. A quilter’s dream come true!
One of the components of modern quilting is the use of “negative space”. Big blocks and even major portions of the quilt are given over to an expanse of solid color fabric–no pattern, no patchwork. Just. waiting. for the quilting.

We can look to the past for inspiration when quilting these modern tops. Think simple geometric lines and shapes rather than specific motifs used in traditional quilting. Straight lines, not so straight lines. Curves. Circles. Spirals. Leaves–or just the suggestion of leaves. Clamshells and Baptist fan are timeless and look great on lots of modern quilts. On these tops the quilting is a unifying element.

Some modern quilts have very little negative space with a lot of pattern either from the fabrics or the patchwork. For those tops I look to the fabrics as a guide for the quilting. If there’s a lot of different patterns in the fabrics, like what’s often found in scrappy quilts, then I think the top is  entitled to a lot of different patterns in the quilting. I use a light or neutral color thread so that the quilting is a textural element. The quilting patterns help to move your eyes around the quilt and allow you to focus on the top’s pattern.

Quilting the modern top is a lot of fun, but it uses different concepts than the quilts we’ve been making the last few decades. It’s still quilting, though, so have fun with it!

If you’re interested in learning more, stay tuned. I’ve been asked to teach a class in modern quilting at the NW Quilt Expo in Portland this September. We’ll talk about motifs and concepts, tips and tricks, fun and games. I’ll keep you posted.

Finishing a quilt binding

There are a lot of tips and tricks out there for just about every sewing and quilting situation, so here’s my entry in the “how-to-finish-a-quilt-binding” category. This tutorial assumes you know how to create the binding and are ready to sew it onto the quilt top.

This works with any size binding, since you use a scrap of your binding as a measurement. Leave a 10-12″ tail before you start sewing on the binding; stop sewing the binding to the quilt about 10-12″ before the end. This 10-12″ gap will leave you with enough room to join the binding and finish sewing it to the quilt.

Step 1: Cut a small piece of your binding and place it on the quilt about halfway between the 10-12″ gap mentioned above.

cut a scrap of binding to use for measuring
place the scrap of binding across the quilt edge

Step 2: lay the tail from the beginning of the binding across the scrap and place a pin (as a marker) in the binding on the left-hand side of the scrap as shown below:

lay the tail over the scrap binding and place a pin in the binding
lay the beginning tail over the scrap binding and place a pin in the binding

Step 3: lay the tail from the end of the binding across the scrap and place a pin (as a marker) in the binding on the right-hand side of the scrap as shown below:

lay the end tail over the scrap binding and place a pin in the binding

Step 4: (this is the only tricky part, but you’ll get it once you see it!) With right sides together, lay the left-hand side of the binding over the right-hand side of the binding, laying the marker pins perpendicular to each other.

lay the end of the binding over the start of the binding, right sides together with pins at a 90-degree angle

Step 5:  Pin and stitch the two strips together across the diagonal.

join strips diagonally
stitch strips together on the diagonal

Step 6: Trim the seam to 1/4″

trim seam to 1/4"
trim seam to 1/4″

Step 7: Press seam, then pin binding and stitch to edge of quilt. Finished!

pin joined binding to edge of quilt
stitch binding to quilt--finished!
stitch binding to quilt–finished!

And that’s really all there is to it. This method works for any size binding, because you use a piece of the binding to measure the distance needed. This is only one method, and there are many ways to finish a quilt. But I’ve been using this method for years and it always turns out perfectly.


what a good yellow can do

I love color theory, and this week I had a lot of fun with the color yellow. Three quilt tops, all quilted using yellow thread.

I thought that I would surely use a green-ish thread on this one because of the center panel, but nope! lemon yellow worked across all of the different fabrics and absolutely disappeared into the background color of the center panel.modern girls quilt, full-size

“Modern Girls”

Next up came a cute little “Naptime” Quilt. Even though the quilt reads “green”, yellow thread blended across all of the fabrics.nap time full size

Naptime in the ocean

and finally, a really fresh take on the French Braid style. Using yellow thread here was a no-brainer, but I do love the way it looks against the black!yellow and black french braid quilt

fresh!

here are some close up shots so you can get a better idea of how the yellow thread works it magic!

[nggallery id=5]


The Extra Mile For Quilt Market

image

image

image

image

image

image

I spent all day Friday (and most of the night) quilting a top that will, probably, lead a more exciting life than I do. On Monday I got a call from Judy at E. E. Schencks that they needed a top quilted asap. Sure! Happy to help! Eeek!

Turned out that the top is a BOM from Schoolhouse, with big, beautiful squares turned on point, setting triandles, block sashing, and 3 (count ’em, 3) borders. The top measured 80+ by 100+.

Judy and I settled on thread colors and wool batting (for weight and travel). I was able to start the quilt first thing Thursday, but it was slow going because each block had its own quilting pattern. I worked on it all day Thursday and Friday. And Friday night. I finally finished it up around 11pm!

This will be a popular BOM I think. The blocks are really pretty, and set on point they’re dramatic. The fabrics selected for the sample are subdues taupes and grayed-blue and salmon pink accents, with a soft, natural motif, so I used classic feather motifs with a little twist. The wool batt gives the quilting a wonderful dimension–with the extra bonus of minimal weight.

Bonus project: while the blocks stitched out (on Click) I started (and finished) two large floral panels. These are for a friend (hmm, her name is Judy, too); she’s going to hang them in her sewing room. These are the first thread painting projects that I’ve done, but they were a LOT of fun.

new baby quilts

so, in the last few months I’ve quilted up a few tops that are for new babies–these little ones are so lucky!  What’s new are the colors–I mean COLORS! Brights with lots of contrast. Also new are the themes. Dancing crows, silly chickens, and Monet impressionist prints, to start. And omg, check out the mama and baby giraffe with needle-turned applique’ spots and dimensional leaves (for teething). Wow. It’s easy to see that these quilters get caught up with the textiles and textures and don’t let go! I’m so pleased to be part of that process–go, baby!

  sunflowers were the obvious choice for quilting
yellow flannel backing shows the quilting nicely
i just luv these crows!
mama & baby


nice framed Monet prints
Monet butterflies and dragonflys
applique' hearts & stars
the "slinky" toy dog!


giraffe close-up


raffle opportunity!

every year the Gleneden Beach THURSDAYS group creates a one-of-a-kind themed quilt.

everyone contributes a block and the top is assembled, sashed, bordered and bundled up to the Just Quilting studio for quilting.

every year they just keep getting better and better.

Raffle Quilt
Twilight on the Beach

this year’s theme is “Twilight On The Beach”– 20 blocks including a hand-embroidered sunset, kites with ribbon tails, origami seals and seagulls, a lighthouse, flip flops, footprints on the sand and more–all evocative of the seashore just as the sun slips under the horizon. All sashed with soft blue pastels and 8-point stars, bordered with a hazy lavender pastel.

proceeds fund scholarships for Taft High School students, tickets are $1 each or six for $5. winning ticket will be drawn on July 4 in Gleneden Beach, after the parade. you need not be present to win, but 4th of July at the Oregon coast? why not!

close up of some of the quilt’s blocks: